
 Pin it
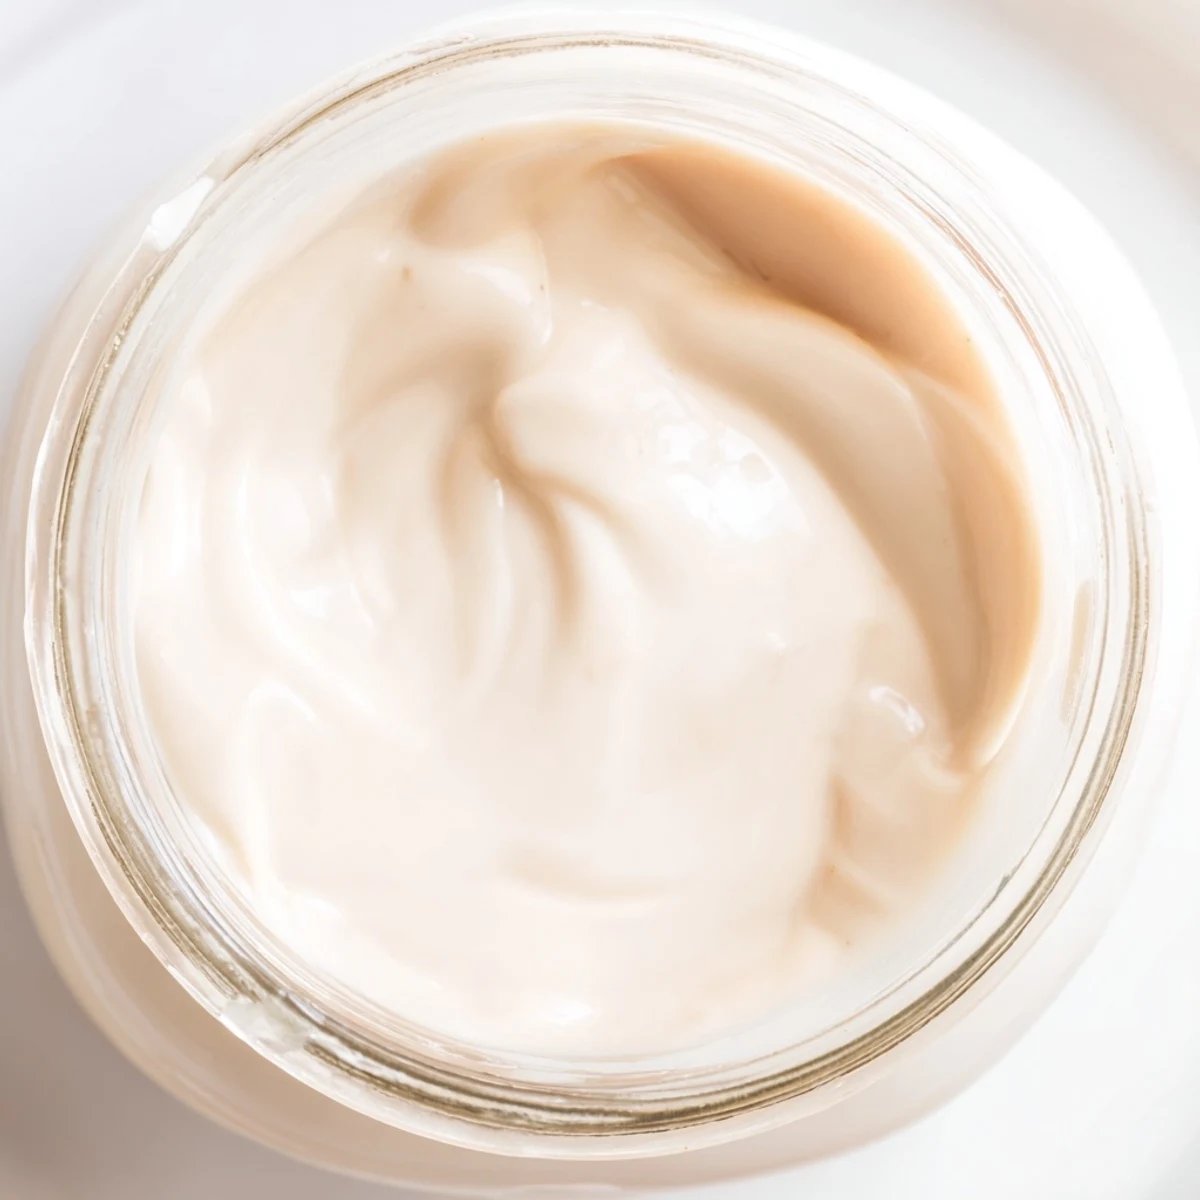
 This condensed coconut milk transforms simple pantry staples—full-fat coconut milk and sugar—into a thick, luscious sweetener with minimal effort. Simmered low and slow until reduced by half, it develops a silky texture that rivals traditional condensed milk.
It works beautifully drizzled over desserts, stirred into coffee, or used as a one-to-one substitute in any dessert calling for the classic version. Vegan, gluten-free, and ready in under an hour.
The smell hit me before anything else, warm and toasted and vaguely tropical, like something baking on a sunlit porch. I was standing over a saucepan at 11pm on a Tuesday, whisking coconut milk and sugar because a friend with a dairy allergy deserved proper fudge, not a sad compromise. That batch of condensed coconut milk ruined me for the canned stuff forever, and I have never looked back.
I made a double batch for a holiday party last December and someone actually asked which specialty brand I bought it from. Watching their face when I said it was homemade, made from a can of coconut milk and some sugar, was genuinely one of my favorite kitchen moments of the year.
Ingredients
- 1 can (400 ml) full-fat coconut milk: Full fat is nonnegotiable here. The low fat versions simply lack the richness and body needed to create that thick, glossy texture. Shake the can well before opening.
- 1/2 cup (100 g) granulated sugar: Plain white sugar keeps the flavor neutral and lets the coconut shine, but coconut sugar works beautifully if you want a deeper, caramel tone.
- 1 pinch of salt: Just a pinch. It sharpens the sweetness and adds dimension without making anything taste salty.
- 1/2 tsp vanilla extract (optional): I always add it because vanilla and coconut are old friends. Stir it in at the very end so the flavor stays bright.
Instructions
- Get everything into the pan:
- Pour the coconut milk and sugar into a medium saucepan, add the salt, and whisk until fairly smooth. A few lumps are fine, they will disappear as the mixture heats.
- Bring it to a gentle simmer:
- Set the pan over medium heat and stir frequently until every grain of sugar has dissolved and the surface shows small, lazy bubbles. This usually takes about five minutes.
- Let it reduce low and slow:
- Turn the heat down to low and let the mixture simmer gently for 35 to 40 minutes, stirring every few minutes so nothing catches on the bottom. You are watching for it to reduce by roughly half and coat the back of a spoon.
- Finish with vanilla and cool:
- Take the pan off the heat and stir in the vanilla extract if you are using it. Let it cool completely in the pan. It will thicken noticeably as it sits.
- Store it properly:
- Transfer to an airtight container and keep it in the refrigerator for up to one week. Give it a good stir before each use, especially if it has been chilling overnight.
 Pin it
 There is something quietly satisfying about making your own staple ingredients from scratch. This recipe turned a random weeknight into a small ritual I actually look forward to.
Getting the Right Consistency
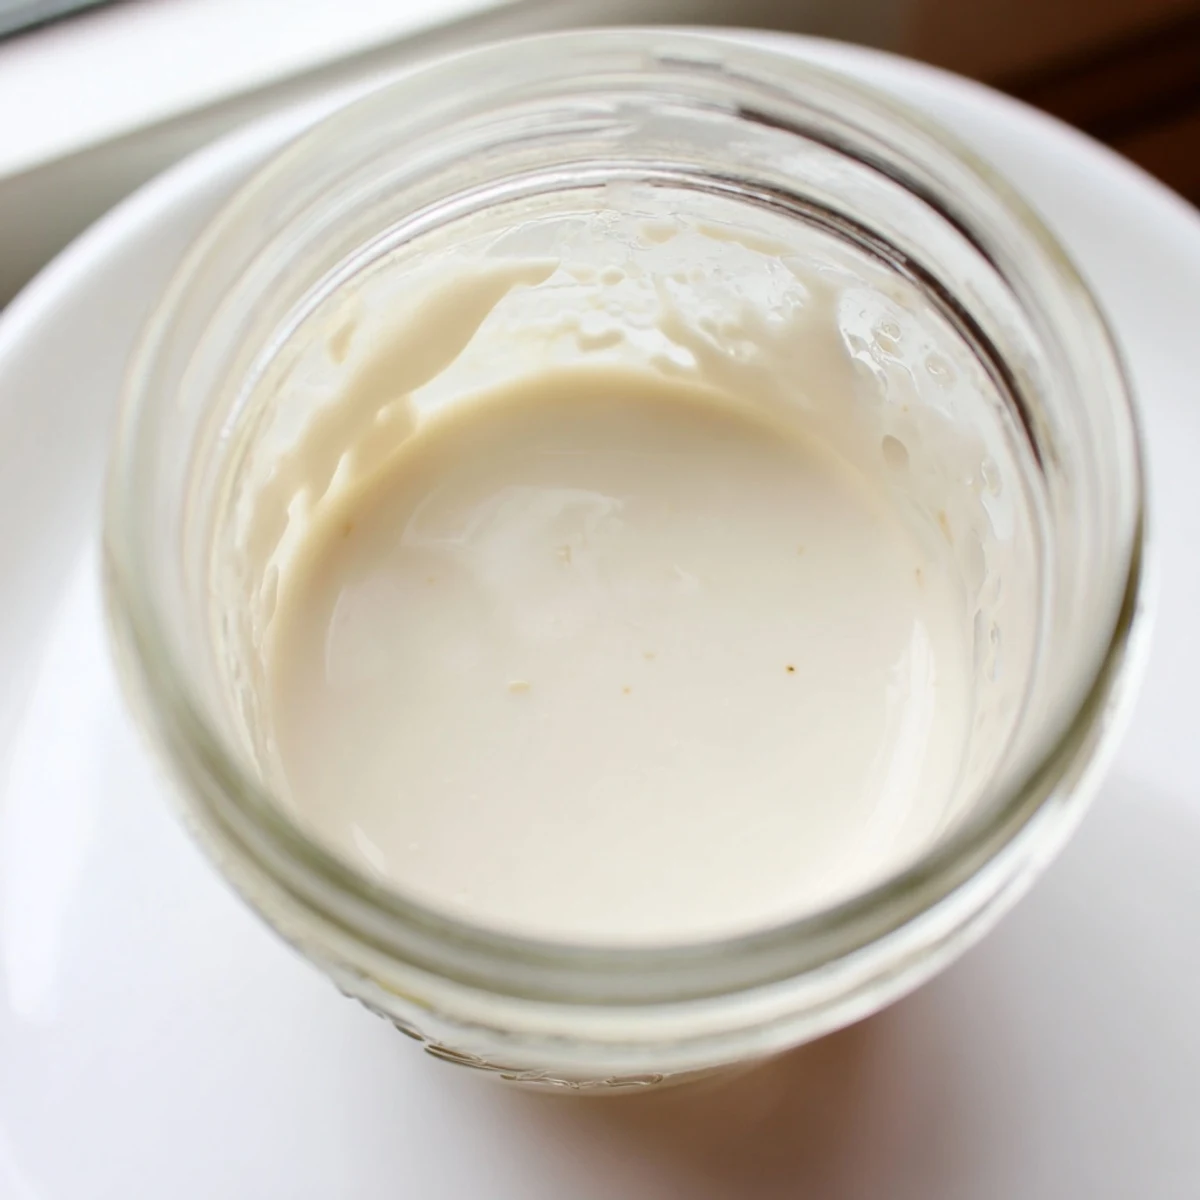
If you have ever made caramel or reduced a sauce, you know the moment when you tilt the pan and the mixture finally sheets instead of runs. That is exactly what you are waiting for here, and it usually arrives around the 38 minute mark for me. Every stove is different, so start checking around 30 minutes and adjust accordingly. Patience is genuinely the most important ingredient in this recipe.
Smart Substitutions
Coconut sugar is my favorite swap when I want a richer, more butterscotch flavor. The color will be darker and the taste deeper, which works beautifully in brownies or drizzled over roasted bananas. Maple sugar also works, though it brings its own personality to the mix. Whatever sweetener you choose, keep the ratio the same and let your taste guide you.
Storage and Allergen Notes
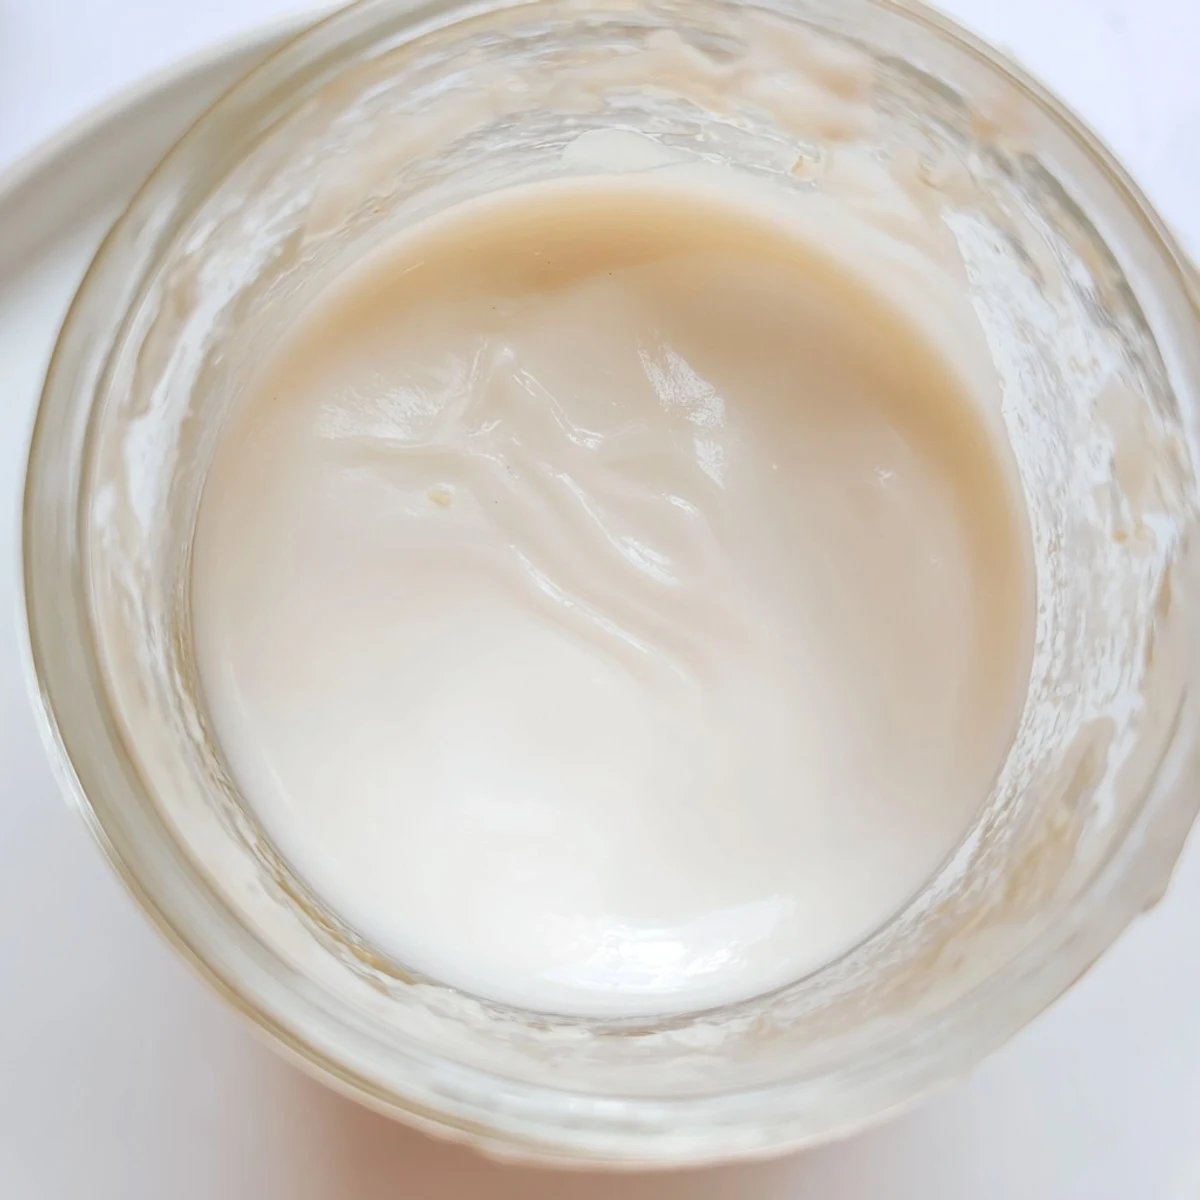
Keeps beautifully in a sealed jar in the fridge for up to a week, and it may separate a little after chilling, which is completely normal.
- Just stir it well or warm it gently and it comes right back together.
- Coconut is classified as a tree nut allergen, so always check with guests before serving.
- Read your coconut milk label carefully if cross contamination is a concern for anyone you are cooking for.
 Pin it
 Keep a jar of this in your fridge and you will find excuses to use it in everything from morning coffee to late night ice cream sundaes. It is one of those small kitchen projects that pays you back every single time.
Recipe FAQs
- → Can I use light coconut milk instead of full-fat?
-
Full-fat coconut milk is essential for achieving that rich, thick consistency. Light coconut milk contains too much water and won't reduce properly, resulting in a thin, watery finish.
- → Why does my condensed coconut milk look separated after refrigeration?
-
Separation is completely natural due to the coconut fat solidifying in the cold. Simply stir it vigorously or warm it gently in a saucepan or microwave to bring it back to a smooth, uniform texture.
- → Can I use a different sweetener besides granulated sugar?
-
Yes, coconut sugar works well and adds a deeper caramel-like flavor. Keep in mind it will darken the color slightly. Avoid liquid sweeteners like maple syrup or agave, as they alter the reduction process and final texture.
- → How long does homemade condensed coconut milk last?
-
Stored in an airtight container in the refrigerator, it stays fresh for up to one week. For longer storage, freeze it in ice cube trays for up to 3 months and thaw individual portions as needed.
- → Can I use this as a direct substitute for sweetened condensed milk?
-
Absolutely. Measure it one-to-one in any application calling for sweetened condensed milk. It performs reliably in pies, bars, fudge, flan, coffee drinks, and poured over fresh fruit or ice cream.
- → Do I need to stir constantly while it simmers?
-
Not constantly, but frequently. Stirring often prevents the bottom from scorching and ensures even reduction. In the first few minutes, stir continuously until the sugar fully dissolves, then switch to occasional stirring for the remaining time.