
 Pin it
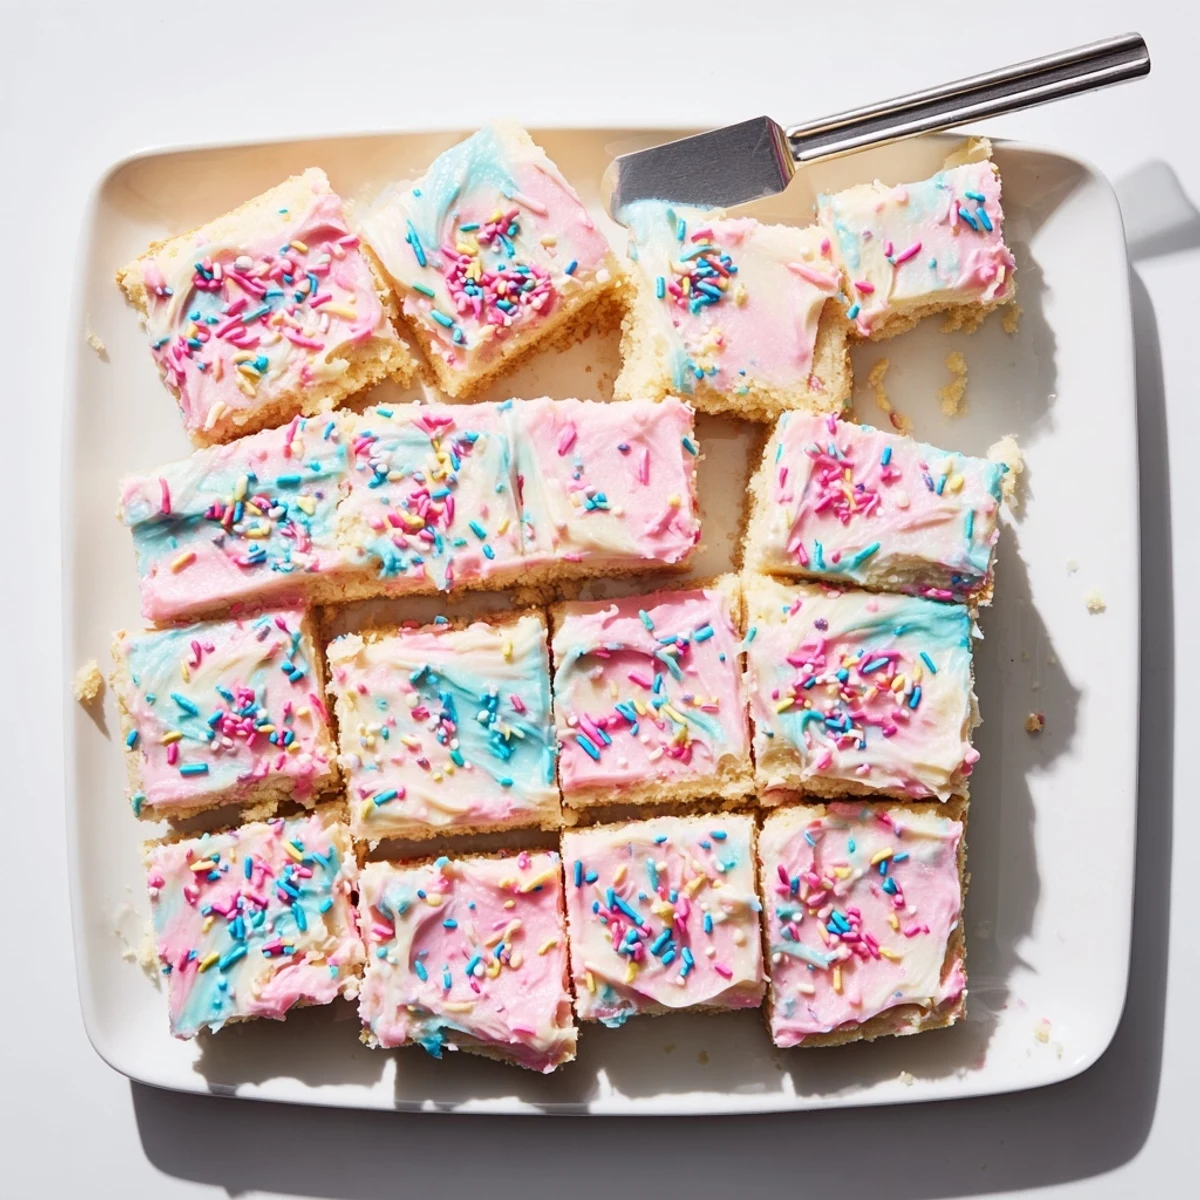
 These soft sugar cookie bars feature a tender, buttery base topped with silky vanilla frosting. The cookie layer stays moist and chewy thanks to whole milk and careful baking, while the creamy butter frosting adds rich sweetness. Color them with food coloring and sprinkles for any occasion—birthdays, holidays, or casual gatherings.
The dough comes together quickly without requiring chilling time, and you can frost the cooled bars immediately. They're easier to serve than individual cookies and feed a crowd effortlessly.
The summer my daughter turned six, I panicked the night before her birthday party and realized I had no cake plan whatsoever. The grocery store was already closed, and my baking skills at that point were limited to boxed brownies. I rifled through the pantry, found butter, flour, sugar, and eggs, and decided to try making cookie bars instead of individual cookies because rolling and cutting dozens of them sounded like a nightmare at ten oclock at night.
Those first bars came out a little thick in the center and slightly overdone at the edges, but the kids at the party did not care one bit. My daughter still asks for them every birthday, and I have made them for school functions, holiday gatherings, and one memorable bake sale where they sold out in the first fifteen minutes.
Ingredients
- All-purpose flour (2 1/4 cups): The backbone of the cookie base, and spooning it into the cup rather than scooping directly keeps the bars tender rather than tough.
- Baking powder (1/2 teaspoon): Just enough lift to keep the bars from feeling dense, but not so much that they puff up and collapse.
- Salt (1/2 teaspoon): A small amount that makes the butter and sugar taste like more than the sum of their parts.
- Unsalted butter, softened (3/4 cup for the bars): Room temperature butter creams properly with the sugar, which is what creates that soft, pillowy crumb everyone reaches for.
- Granulated sugar (1 cup): Regular white sugar gives the bars their classic sugar cookie sweetness and helps the edges turn golden.
- Large egg plus one egg yolk: The whole egg provides structure, and the extra yolk adds richness that makes these taste richer than a plain sugar cookie.
- Pure vanilla extract (2 teaspoons for the bars): Do not skimp here, because the vanilla is the primary flavor in the dough and it carries everything.
- Whole milk (1/4 cup for the bars): A splash of milk loosens the dough just enough to spread it smoothly into the pan without struggling.
- Unsalted butter, softened (1/2 cup for the frosting): The base of a buttercream that spreads like a dream and holds its shape once set.
- Powdered sugar, sifted (2 cups): Sifting is nonnegotiable here, because even a tiny lump in powdered sugar will show up as an ugly streak in your frosting.
- Whole milk (2 tablespoons for the frosting): Adjust by the half teaspoon if needed to reach that perfect spreadable consistency.
- Pure vanilla extract (1 teaspoon for the frosting): A lighter hand than the dough since the frosting should complement, not overpower, the cookie base.
- Food coloring and sprinkles (optional): Entirely up to you, but matching the colors to a holiday or party theme is half the fun of making these.
Instructions
- Preheat and prepare the pan:
- Set your oven to 350°F (175°C) and line a 9x13-inch baking pan with parchment paper, leaving an overhang on the long sides so you can lift the whole slab out later without breaking it.
- Whisk the dry ingredients:
- In a medium bowl, whisk together the flour, baking powder, and salt so everything is evenly distributed before it meets the wet ingredients.
- Cream the butter and sugar:
- Beat the softened butter and granulated sugar in a large bowl with an electric mixer on medium speed until the mixture looks pale, fluffy, and lighter in texture, which usually takes two to three minutes.
- Add the eggs and vanilla:
- Drop in the whole egg, the extra yolk, and the vanilla extract, then beat until everything is fully combined and the batter looks smooth and glossy.
- Incorporate the dry and wet alternating:
- With the mixer on low speed, add the flour mixture and the milk in alternating batches, starting and ending with the flour, and mix only until the last streak of flour disappears.
- Spread and smooth the dough:
- Transfer the thick dough into your prepared pan and use an offset spatula or the back of a spoon to spread it into an even layer that reaches all the corners.
- Bake until just set:
- Bake for 18 to 22 minutes, checking at the 18-minute mark, and pull them out when the edges are lightly golden and a toothpick in the center comes out with a few moist crumbs clinging to it.
- Cool completely:
- Leave the bars in the pan on a wire rack until they are completely cool to the touch, because even slightly warm bars will melt the frosting into a sad, slippery mess.
- Make the frosting:
- Beat the softened butter until creamy, then gradually add the sifted powdered sugar, milk, and vanilla, beating on medium speed until the frosting is light, fluffy, and easily spreadable.
- Frost, decorate, and slice:
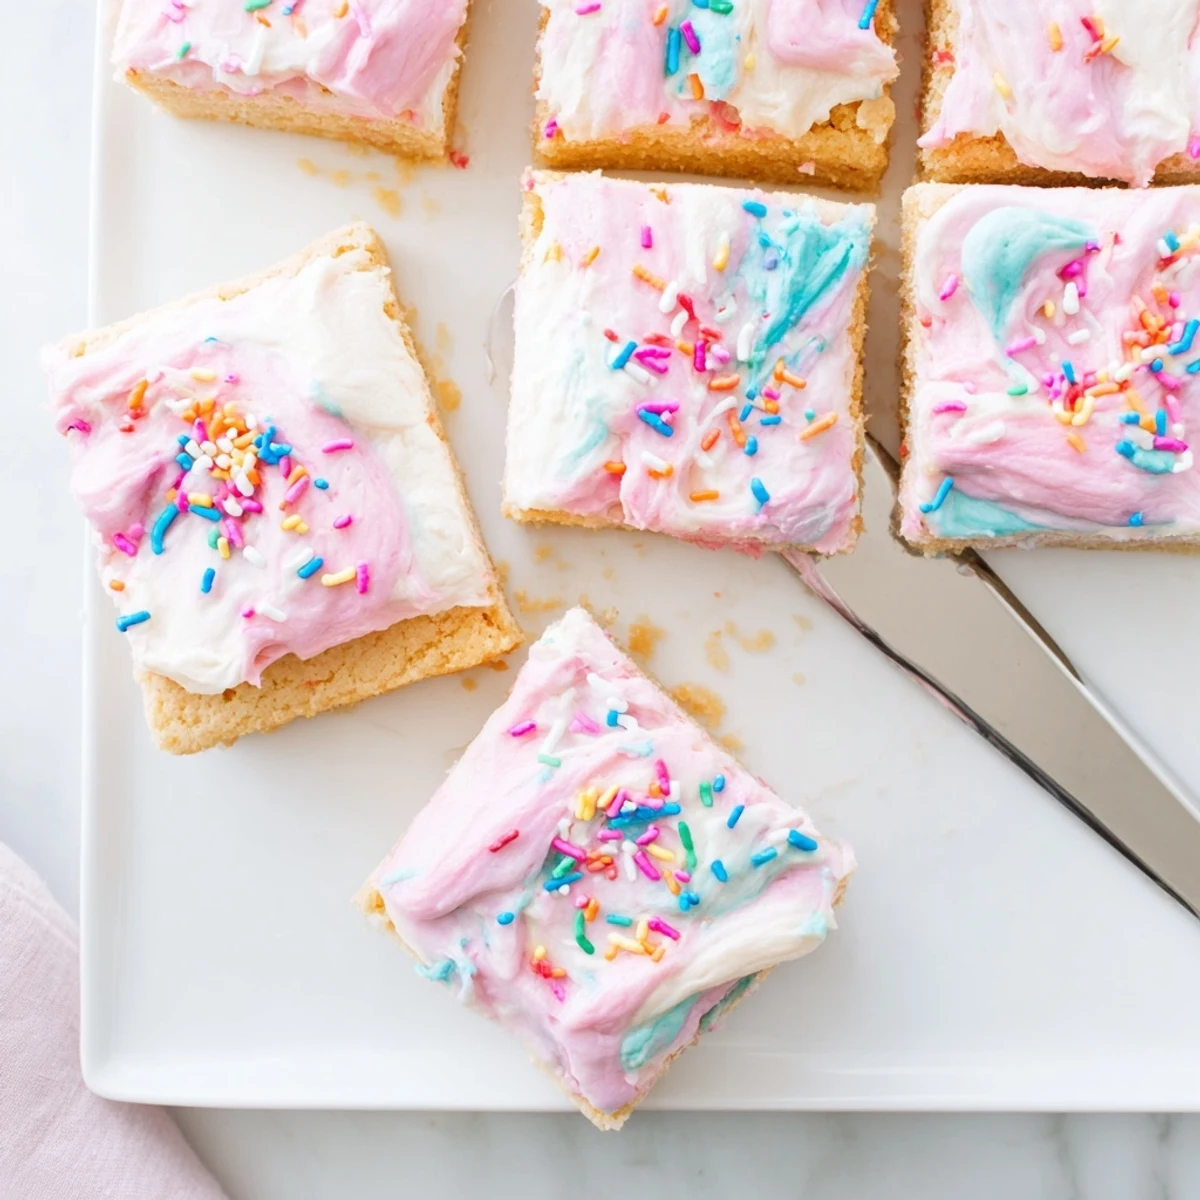
- Spread the frosting evenly over the cooled bars, add food coloring or sprinkles if you like, then use the parchment overhang to lift the whole block out and cut it into 16 squares.
 Pin it
 I once brought a tray of these to a neighborhood block party, and a woman I had never met tracked me down three houses over to ask for the recipe. That moment taught me that sometimes the simplest desserts, the ones without fancy techniques or expensive ingredients, are the ones that make people feel the most cared for.
Making Them Your Own
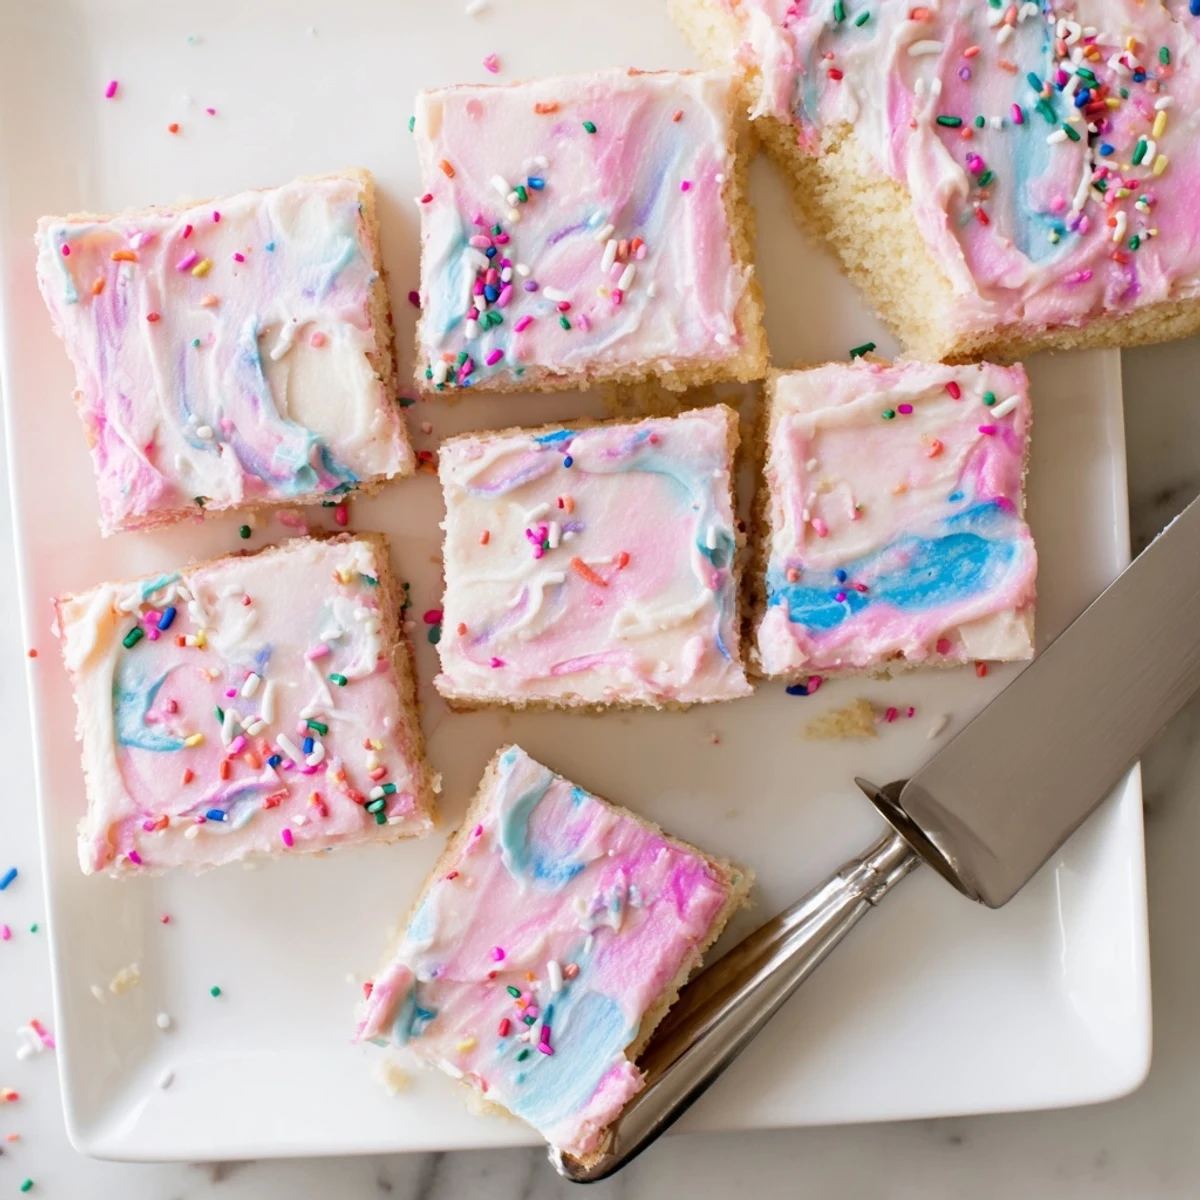
The frosting is where you can really let your personality come through. Try swapping the vanilla extract for almond or lemon extract, or divide the frosting into bowls and tint each one a different color for a rainbow effect. During the holidays, peppermint extract and crushed candy canes on top turn these into something that tastes like winter in bar form.
Storing and Transporting
These bars keep beautifully in an airtight container at room temperature for up to three days, and the frosting actually firms up enough overnight that you can stack them with a sheet of parchment between layers. If you need to make them ahead for an event, bake the cookie base a day in advance and frost the morning of, which keeps everything looking fresh and the frosting perfectly smooth.
Adapting for Dietary Needs
Plant-based butter and milk work well as substitutes if you need a dairy-free version, though the flavor will be slightly different depending on the brand you choose. Gluten-free all-purpose flour blends can also work, but look for one that already contains a xanthan gum substitute for the best texture.
- Let the bars chill in the refrigerator for thirty minutes before slicing if you want perfectly clean edges.
- A plastic knife cuts through the frosting more cleanly than a metal one, which tends to drag and tear.
- Always check your ingredient labels for allergens if you are baking for someone with dietary restrictions.
 Pin it
 Keep these bars in your back pocket for any moment that calls for something sweet, colorful, and made with love. They have never once let me down, and I am fairly confident they will do the same for you.
Recipe FAQs
- → Can I make these bars ahead of time?
-
Yes! Bake the bars up to 2 days in advance and store unfrosted in an airtight container. Frost on the day of serving for the freshest appearance. Once frosted, they'll keep for 3 days at room temperature.
- → Why did my bars turn out dry?
-
Overbaking is the most common cause. Pull them from the oven when a toothpick shows moist crumbs rather than completely clean. The center should still look slightly underbaked as it continues cooking while cooling.
- → Can I freeze these frosted sugar cookie bars?
-
Freeze unfrosted bars wrapped tightly in plastic and foil for up to 3 months. Thaw overnight at room temperature before frosting. Frosted bars can be frozen but the frosting texture may change slightly.
- → What size pan should I use?
-
A standard 9x13-inch pan works perfectly. Using a smaller pan will make thicker bars requiring longer baking time, while a larger pan creates thinner bars that bake faster.
- → How do I know when the bars are done baking?
-
The edges should be lightly golden, and a toothpick inserted in the center should come out with moist crumbs, not wet batter. The top will spring back lightly when touched.
- → Can I make these dairy-free?
-
Yes! Substitute vegan butter sticks for the butter and use your preferred plant-based milk. The texture and flavor remain excellent with these simple swaps.