 Pin it
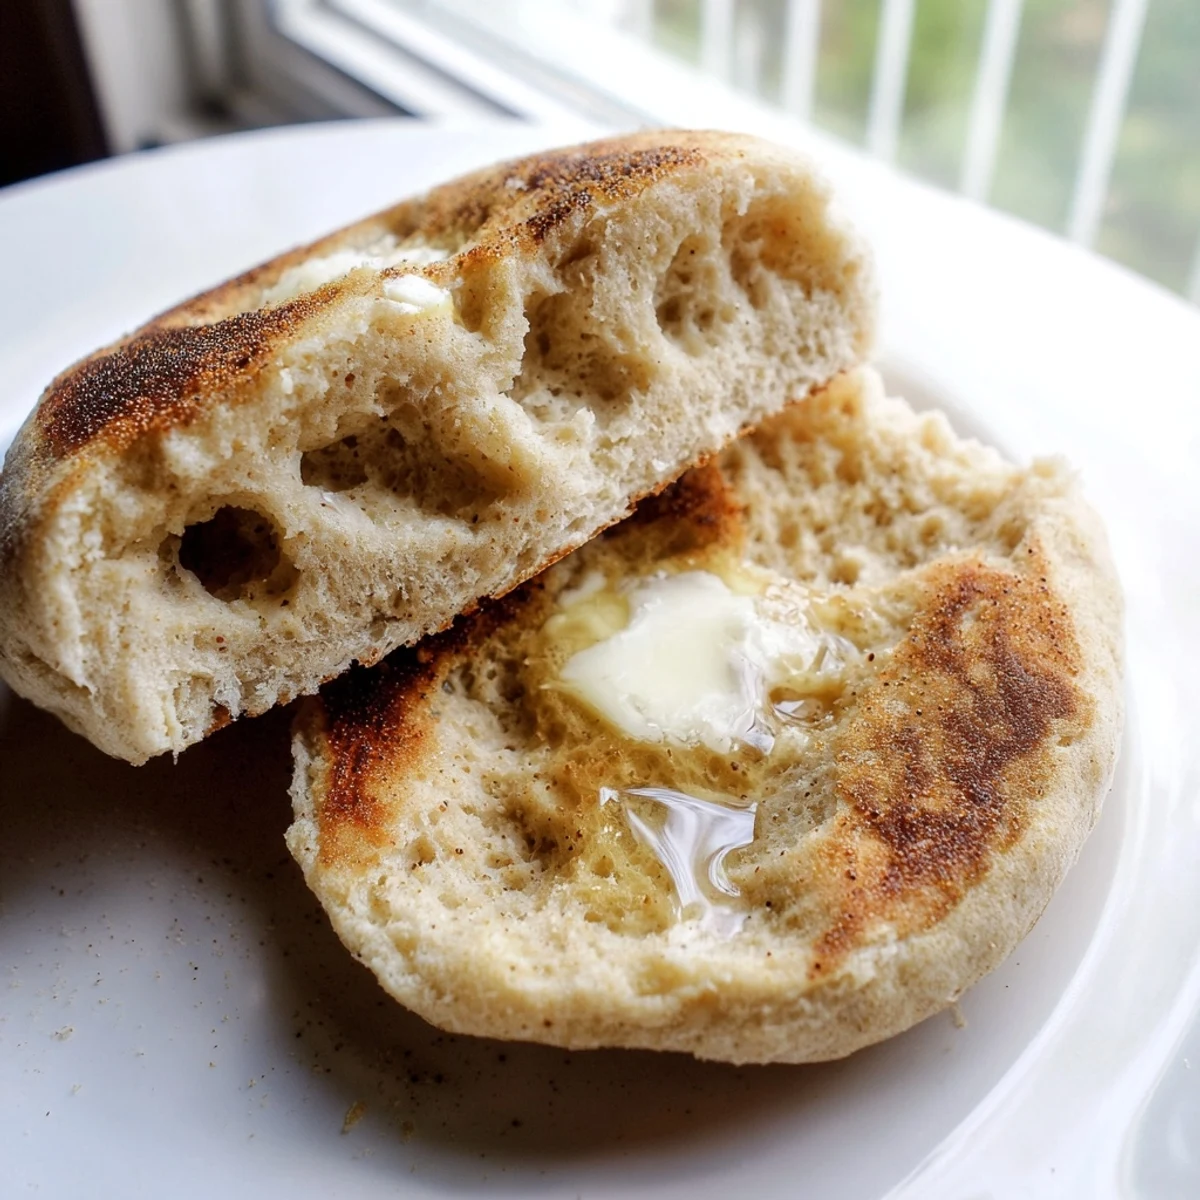
 Create bakery-quality English muffins in your own kitchen with this time-honored British technique. The dough combines simple ingredients—bread flour, milk, yeast, butter, and salt—rising slowly to develop signature air pockets and chewy texture. Cooked on a griddle rather than baked, these muffins develop that classic golden crust and soft interior. The secret lies in the two-stage proofing process and gentle stovetop cooking, which creates those beloved nooks and crannies that cradle melted butter and jam perfectly. Split them with a fork for maximum texture, toast until golden, and enjoy warm for breakfast or tea time.
My tiny apartment kitchen smelled like a proper bakery that first Sunday morning I attempted these. I had no business making bread from scratch with zero experience and questionable patience, but something about the promise of those signature nooks and crannies called to me. Three hours later, pulling apart that first golden, fork-split muffin revealing all those butter-catching pockets, I understood why people bother with homemade bread.
Last winter, during that endless week of snow, I made triple batches for my neighbors. They started showing up at my door with their own butter and jam selections, having smelled the proofing dough through our thin apartment walls. We spent that gray week splitting warm muffins and sharing stories over kitchen counters, proofing bread in every available warm corner.
Ingredients
- Bread flour: Higher protein content than all-purpose gives these their characteristic chew and structure
- Whole milk: Creates tenderness and richness, though water with a splash of cream works in a pinch
- Active dry yeast: Make sure its bubbly and alive after the 10 minute bloom or start over
- Granulated sugar: Just enough to feed the yeast and encourage browning, not enough to make them sweet
- Fine sea salt: Enhances flavor and strengthens gluten structure
- Unsalted butter: Melted and warm, it incorporates beautifully into the dough
- Cornmeal or semolina: This dusting is non-negotiable for that authentic bakery look and easy release from the pan
Instructions
- Wake up the yeast:
- Dissolve the yeast and sugar in lukewarm milk, then walk away for 5 to 10 minutes until you see a frothy layer proving life.
- Build the foundation:
- Mix flour and salt in a large bowl, create a well in the center, pour in your yeasty milk mixture and melted butter, then stir until it looks shaggy and messy.
- Work the dough:
- Knead on a floured surface for 8 to 10 minutes until smooth and elastic, or let your stand mixer do the heavy lifting with the dough hook.
- First rise:
- Place the dough in a lightly oiled bowl, cover it up, and tuck it in a warm corner for about 1 to 1.5 hours until it has doubled in size.
- Shape the muffins:
- Punch down the risen dough, roll it to 3/4 inch thickness, cut circles with a 3-inch round cutter, then reroll scraps to get 8 muffins total.
- Dust and proof again:
- Dust a baking sheet with cornmeal, place muffins on top, sprinkle more cornmeal over them, then cover and let puff for 25 to 30 minutes.
- Cook to golden:
- Heat a skillet or griddle over low-medium heat, cook muffins 7 to 9 minutes per side until deeply golden and reaching 200F internally.
 Pin it
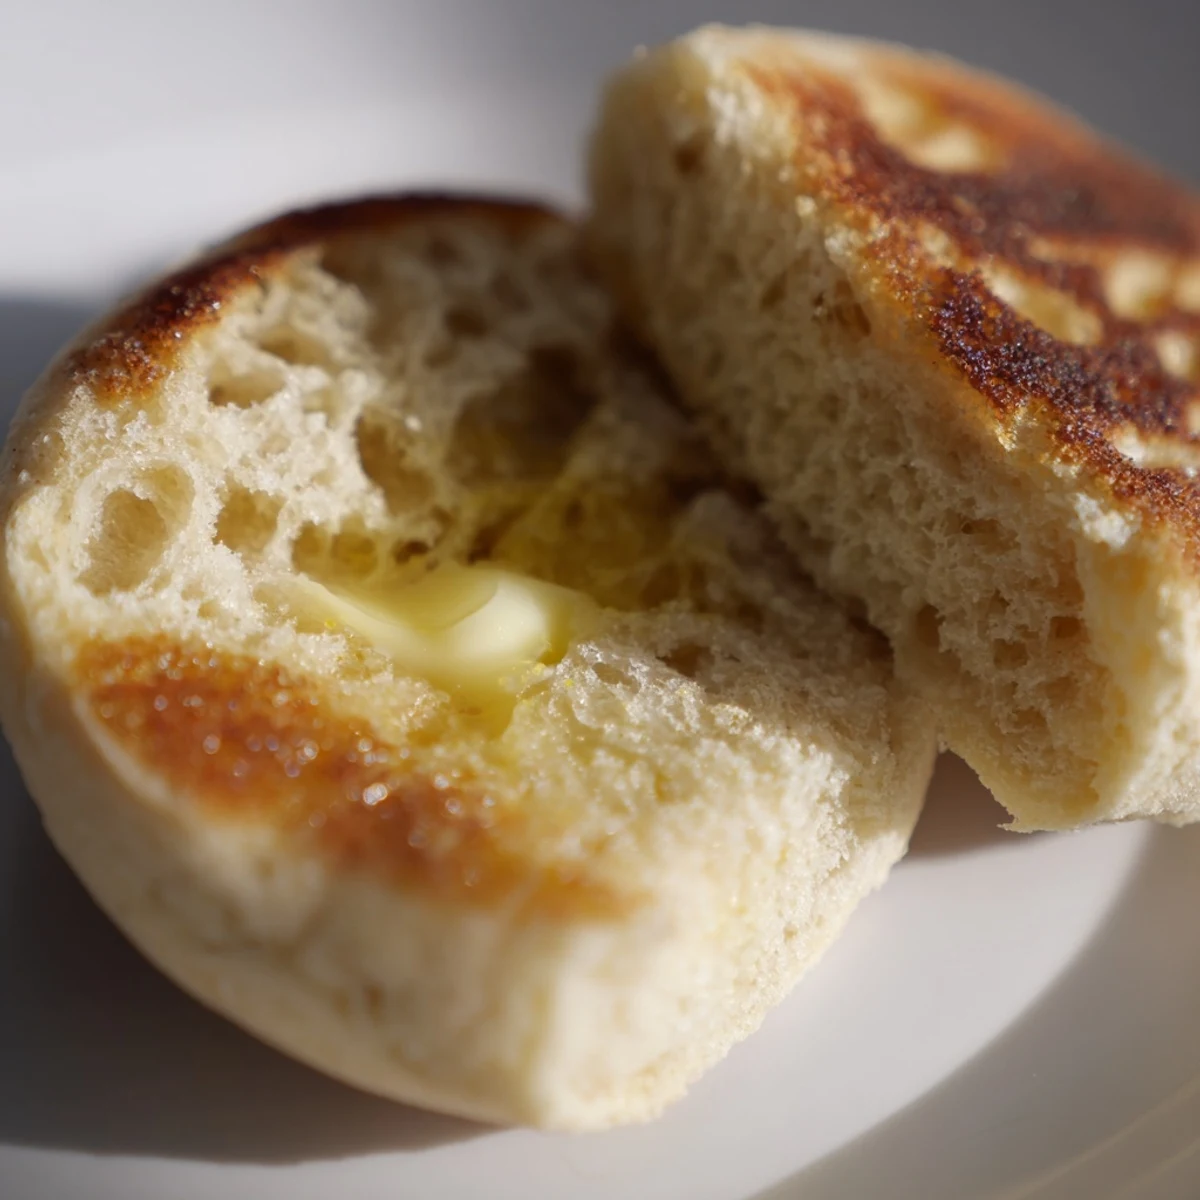
 These became my Sunday morning ritual, the kind of breakfast that makes you slow down and appreciate the process. Theres something meditative about the rhythm of kneading, then the patience of waiting, followed by that first bite of warm, butter-soaked perfection that tastes like comfort itself.
Getting That Perfect Rise
Your dough needs a genuinely warm spot to proof properly. I learned this the hard way during winter when my drafty kitchen turned hour-long rises into three-hour marathons. The inside of a turned-off oven with just the light on, or near a radiator, works beautifully for creating that cozy environment yeast loves.
The Fork Split Technique
Always split English muffins with a fork instead of a knife. Push the tines all around the edge and pull apart gently. This creates those signature rough interior surfaces that grab melted butter and jam, whereas a knife slices through and smooths over all those precious crevices.
Storage And Make-Ahead Tips
Freshly cooked muffins freeze exceptionally well. Cool them completely, wrap individually in plastic, then freeze in a freezer bag for up to two months. They re beautifully in the toaster and taste almost as good as the day they were made.
- Place a paper towel between layers when freezing to prevent sticking
- Refresh day-old muffins by splitting and toasting before serving
- Add herbs or cheese to the dough for savory variations that transform them into dinner bread
 Pin it
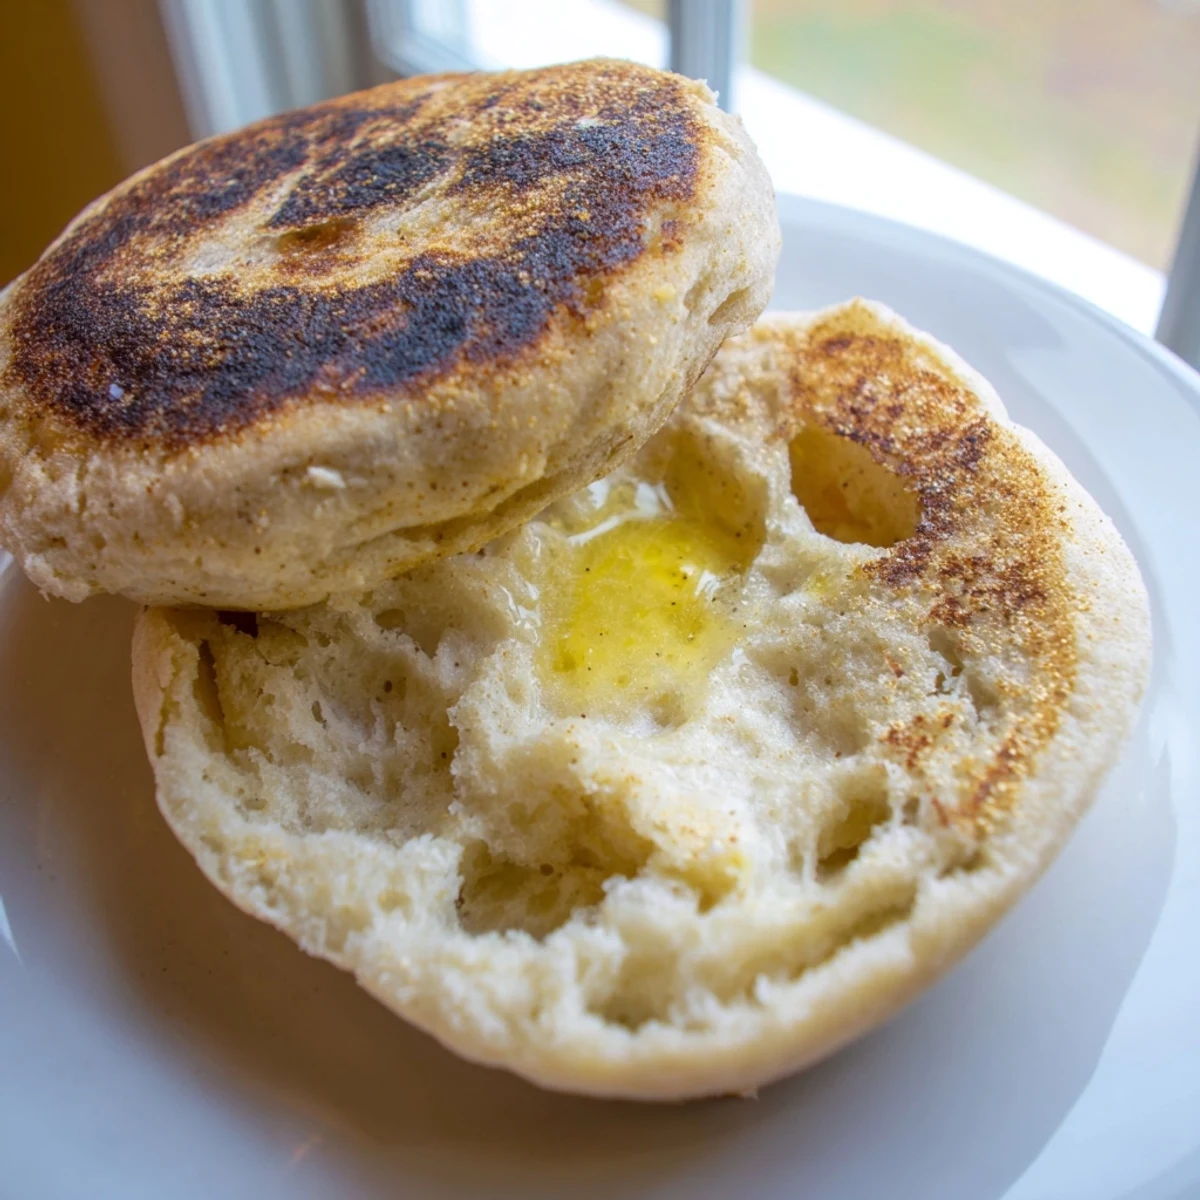
 There is nothing quite like the satisfaction of pulling a batch of these from the griddle, golden and imperfect, knowing they will transform ordinary breakfast into something special.
Recipe FAQs
- → Why split English muffins with a fork?
-
Splitting with a fork preserves the signature nooks and crannies texture. A knife compresses the interior, while fork tugs naturally separate the dough, creating those craggy surfaces that capture butter and jam perfectly.
- → Can I bake these instead of using a griddle?
-
Traditional English muffins require stovetop cooking to achieve the characteristic texture. Baking creates a different crust and crumb structure more like dinner rolls. For authentic results, use a skillet or griddle over low-medium heat.
- → Why is cornmeal used for dusting?
-
Cornmeal or semolina prevents sticking while adding subtle texture and crunch to the exterior. This classic coating also helps achieve that distinctive speckled appearance of traditional English muffins and aids in even browning.
- → How do I know when the muffins are cooked through?
-
The muffins should reach an internal temperature of 200°F (93°C). Look for deep golden-brown color on both sides, and they should feel firm and spring back when touched. If they brown too quickly before cooking through, reduce the heat.
- → Can I make the dough ahead of time?
-
Yes, after the first rise, punch down the dough and refrigerate overnight. Let it come to room temperature for 30 minutes before rolling and cutting. The extended refrigeration actually enhances flavor development.
- → What's the purpose of the second proofing?
-
The brief 25-30 minute second proof allows the cut muffins to puff slightly, creating lighter texture. This final rest ensures the dough relaxes after rolling, leading to better rise and more tender interior after cooking.