 Pin it
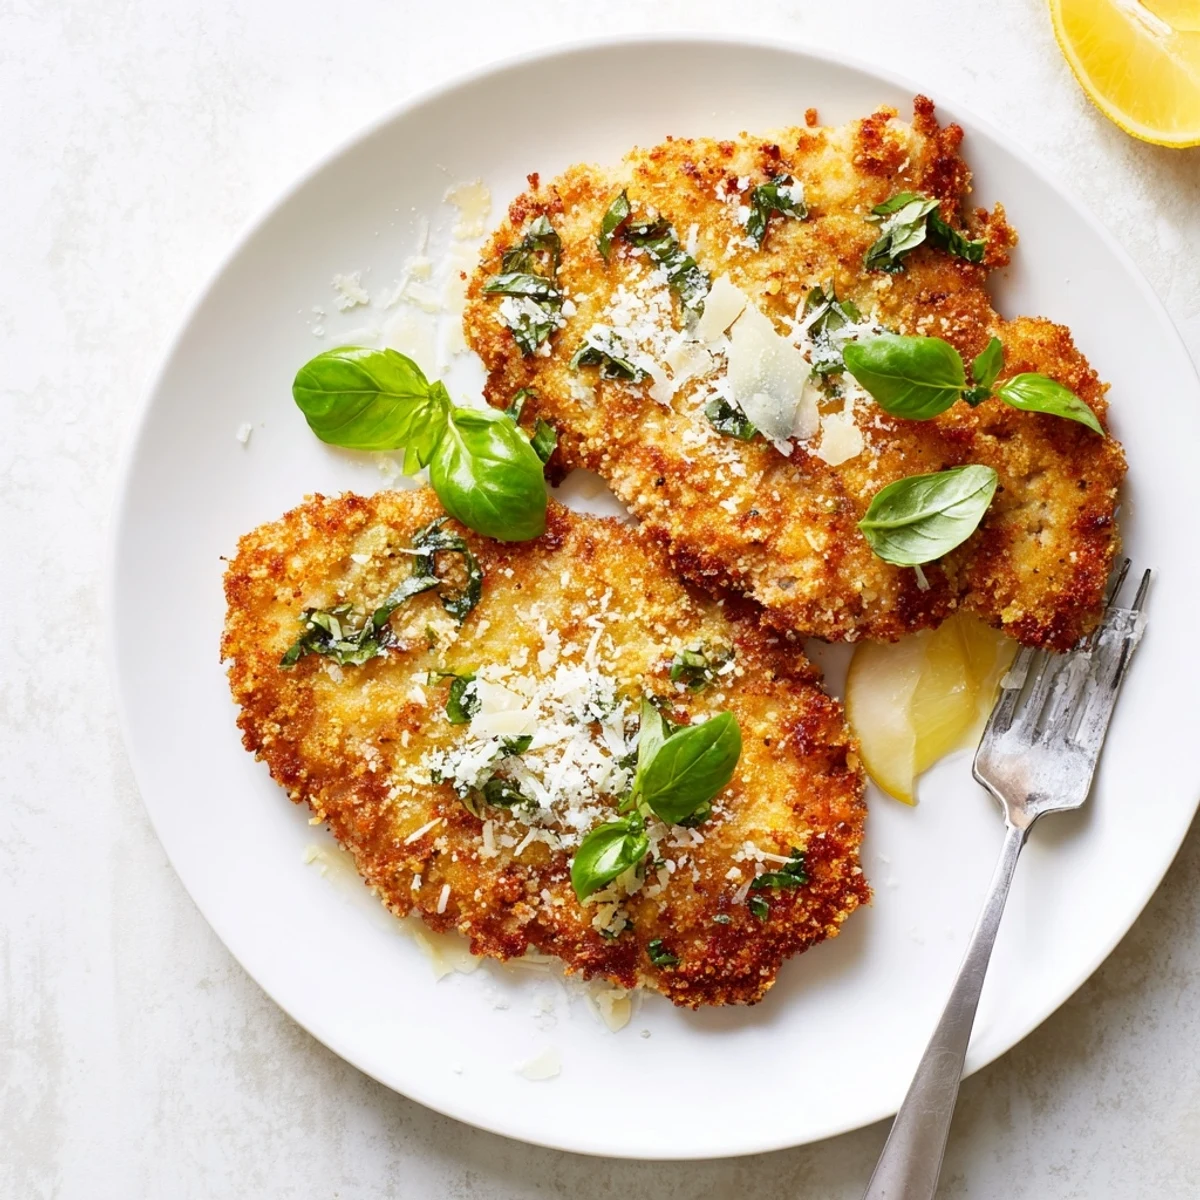
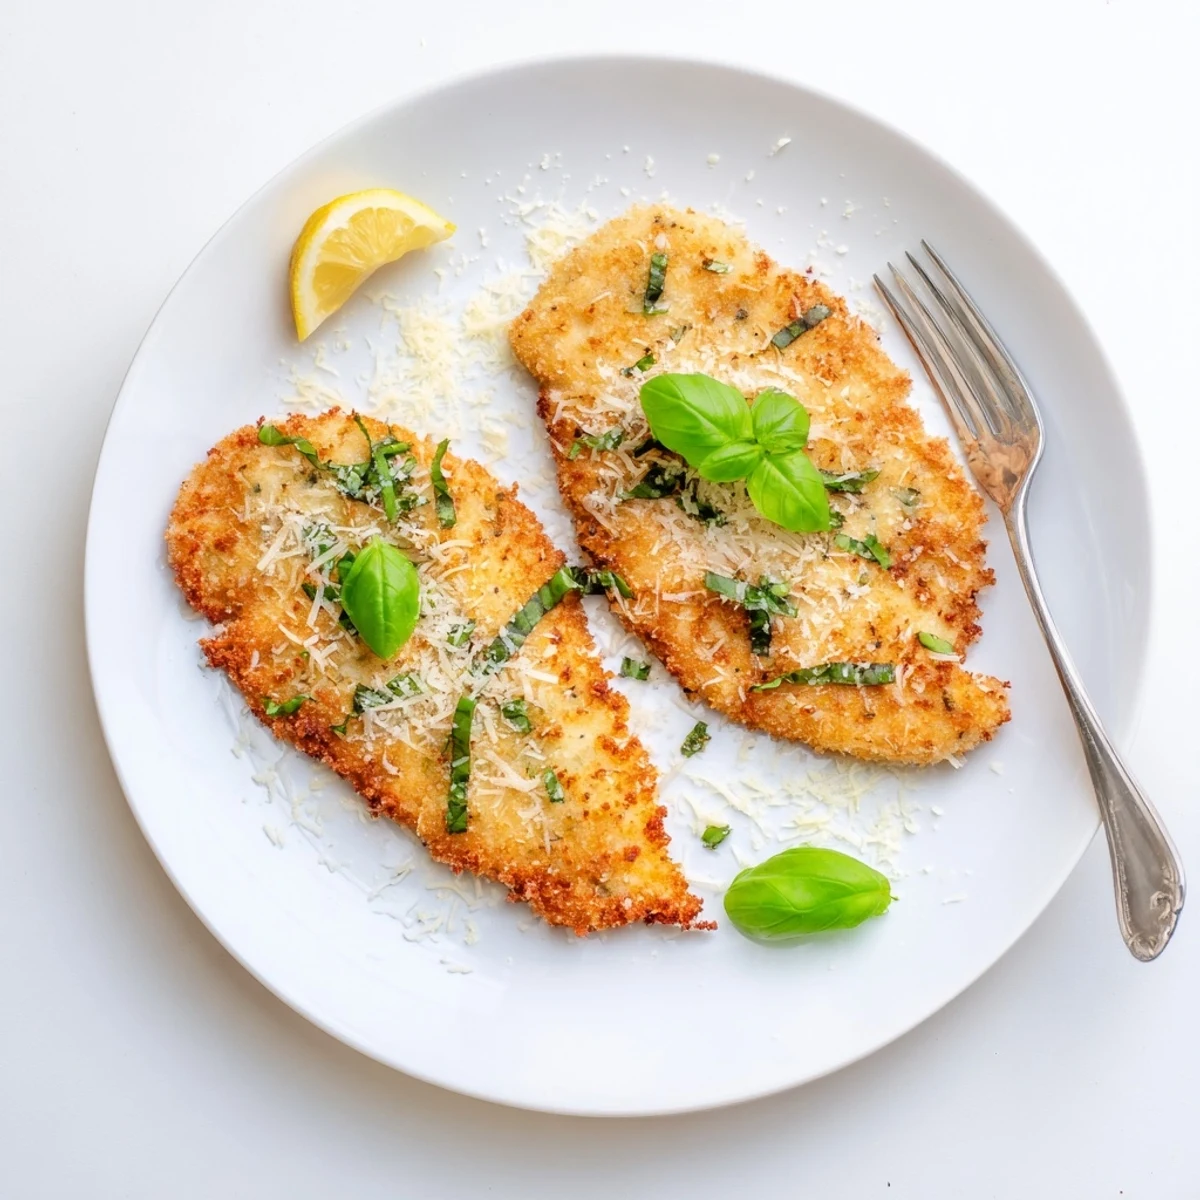
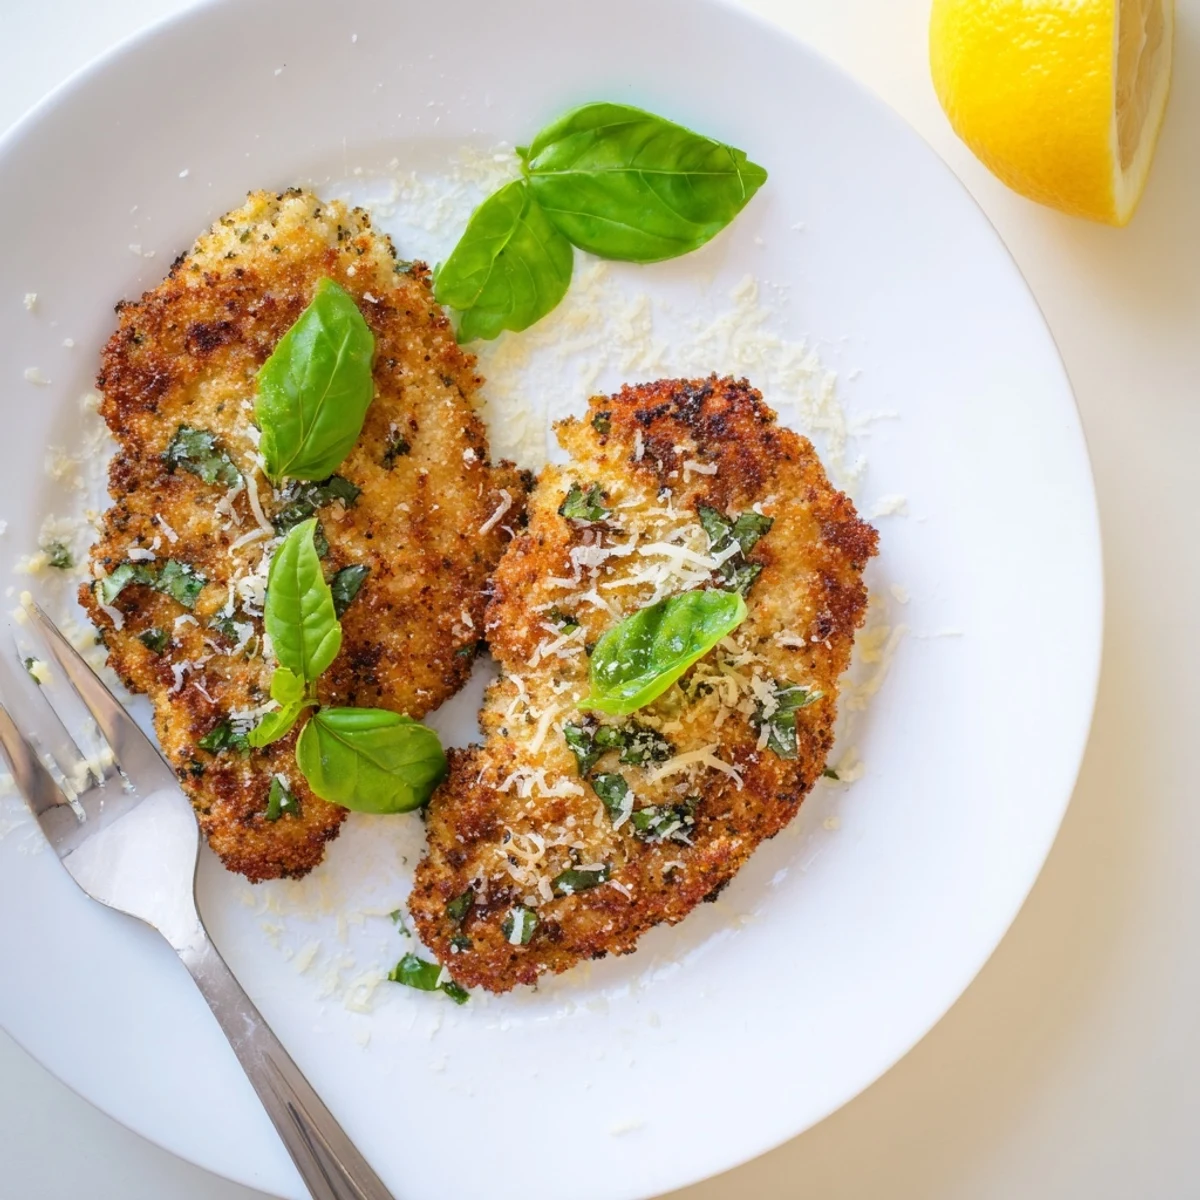
 These golden chicken cutlets feature a crispy coating of panko breadcrumbs, grated Parmesan, and fresh basil. The three-step breading process creates perfectly crunchy exterior while keeping the meat juicy inside. Ready in just 30 minutes from start to finish, they're ideal for busy evenings when you want something satisfying without spending hours in the kitchen. Serve with pasta, salad, or steamed vegetables for a complete meal.
The first time I made these cutlets, my kitchen smelled like an Italian grandmother's embrace. Fresh basil and Parmesan bubbled away while chicken sizzled to golden perfection. My roommate wandered in, drawn by the aroma, and asked if we were having guests for dinner. We laughed and ate standing up at the counter because waiting for plates seemed ridiculous when everything smelled this incredible.
Last Tuesday, my daughter had soccer practice until almost seven. I pulled the chicken from the fridge at six, pounded it thin while catching up on her day, and had dinner plated before her cleats hit the mudroom floor. She ate two cutlets and asked if we could have this every week. That's when I knew this recipe had earned its permanent spot in our rotation.
Ingredients
- Chicken breasts: Pounding them to even thickness ensures every piece cooks at the same speed, eliminating the dreaded dry edges while waiting for the center to finish
- Flour: This first coating creates a dry surface that helps the egg mixture stick like glue, preventing your precious crust from sliding off during cooking
- Eggs and milk: Whisked together, they form the perfect adhesive layer that bridges the flour and breadcrumbs into one cohesive coating
- Panko breadcrumbs: Their larger, airy structure creates that restaurant style crunch that regular breadcrumbs just cannot achieve
- Grated Parmesan: Use the good stuff you grate yourself, not the shaker can, for a nutty, salty depth that permeates every crispy bite
- Fresh basil: Chopped finely and mixed right into the coating, it infuses the chicken with bright, aromatic flavor in every mouthful
- Garlic powder and paprika: This dynamic duo adds subtle savory warmth and a gorgeous golden hue that makes the cutlets irresistible
- Olive oil: Gives you that classic Italian flavor while achieving the perfect crispy golden exterior
Instructions
- Pound the chicken:
- Place each breast between plastic wrap and use gentle, even strokes to pound to half inch thickness, imagining all your stress melting away with each strike
- Set up your breading station:
- Arrange three shallow bowls in assembly line fashion with flour, whisked eggs and milk, then the Parmesan breadcrumb mixture blended with basil and spices
- Coat each cutlet thoroughly:
- Press chicken into flour, shake off excess, dip in egg until coated, then press firmly into the breadcrumb mixture, ensuring every surface gets covered in that cheesy, herby goodness
- Fry to golden perfection:
- Heat oil until it shimmers, add cutlets without crowding the pan, and cook three to four minutes per side until deeply golden and cooked through to 165°F
- Rest and serve:
- Let cutlets drain briefly on paper towels while you grab plates, then serve immediately with extra Parmesan, basil leaves, and lemon wedges for squeezing
 Pin it
 My dad visited last month and watched me make these, noting how therapeutic the rhythm of dredging and coating felt. He insisted on taking over the frying station, telling me about his own mother's Sunday chicken as he monitored the sizzling pans. We ended up cooking double the recipe just to have leftovers for chicken Parmesan the next night.
Making It Lighter
After a holiday season of heavy eating, I started baking these cutlets instead of frying. The coating stays surprisingly crisp on a wire rack at 425°F, and I honestly cannot tell much difference in texture. My family actually prefers the baked version now, calling them crispy without the guilt.
Perfect Pairings
A simple arugula salad with lemon vinaigrette cuts through the richness beautifully, and a side of angel hair with garlic and olive oil feels like the right kind of extra effort. Sometimes I just roast whatever vegetables need using, because these cutlets make anything taste good.
Make Ahead Magic
On Sunday meal prep days, I bread a double batch and freeze the uncooked cutlets between layers of parchment. They go straight from freezer to hot oil on busy nights, making weeknight dinners feel like a weekend treat.
- Freeze up to three months before cooking
- Add two minutes to cooking time if cooking from frozen
- Never thaw before cooking to prevent soggy coating
 Pin it
 These cutlets have become my answer to everything from Tuesday night hunger to unexpected guests. Good food does not have to be complicated, just made with care and shared generously.
Recipe FAQs
- → How do I get the cutlets evenly thin?
-
Place chicken breasts between plastic wrap and pound gently with a meat mallet or rolling pin until they reach an even 1/2-inch thickness throughout.
- → Can I bake these instead of frying?
-
Yes, bake at 425°F on a wire rack for 15-18 minutes, flipping halfway through. They'll still get crispy with less oil.
- → What sides pair well with these cutlets?
-
Serve with pasta, roasted vegetables, or a simple green salad. The cutlets also work well in sandwiches or over arugula with lemon vinaigrette.
- → Can I use dried basil instead of fresh?
-
Substitute 1 tablespoon dried basil for the fresh version. The flavor will be slightly more concentrated, so adjust to taste.
- → How long do leftovers keep?
-
Store cooled cutlets in an airtight container in the refrigerator for up to 3 days. Reheat in a 350°F oven for 10 minutes to maintain crispiness.
- → What internal temperature should the chicken reach?
-
The cutlets are safe when they reach 165°F internally. Use a meat thermometer to check the thickest part of the meat.