
 Pin it
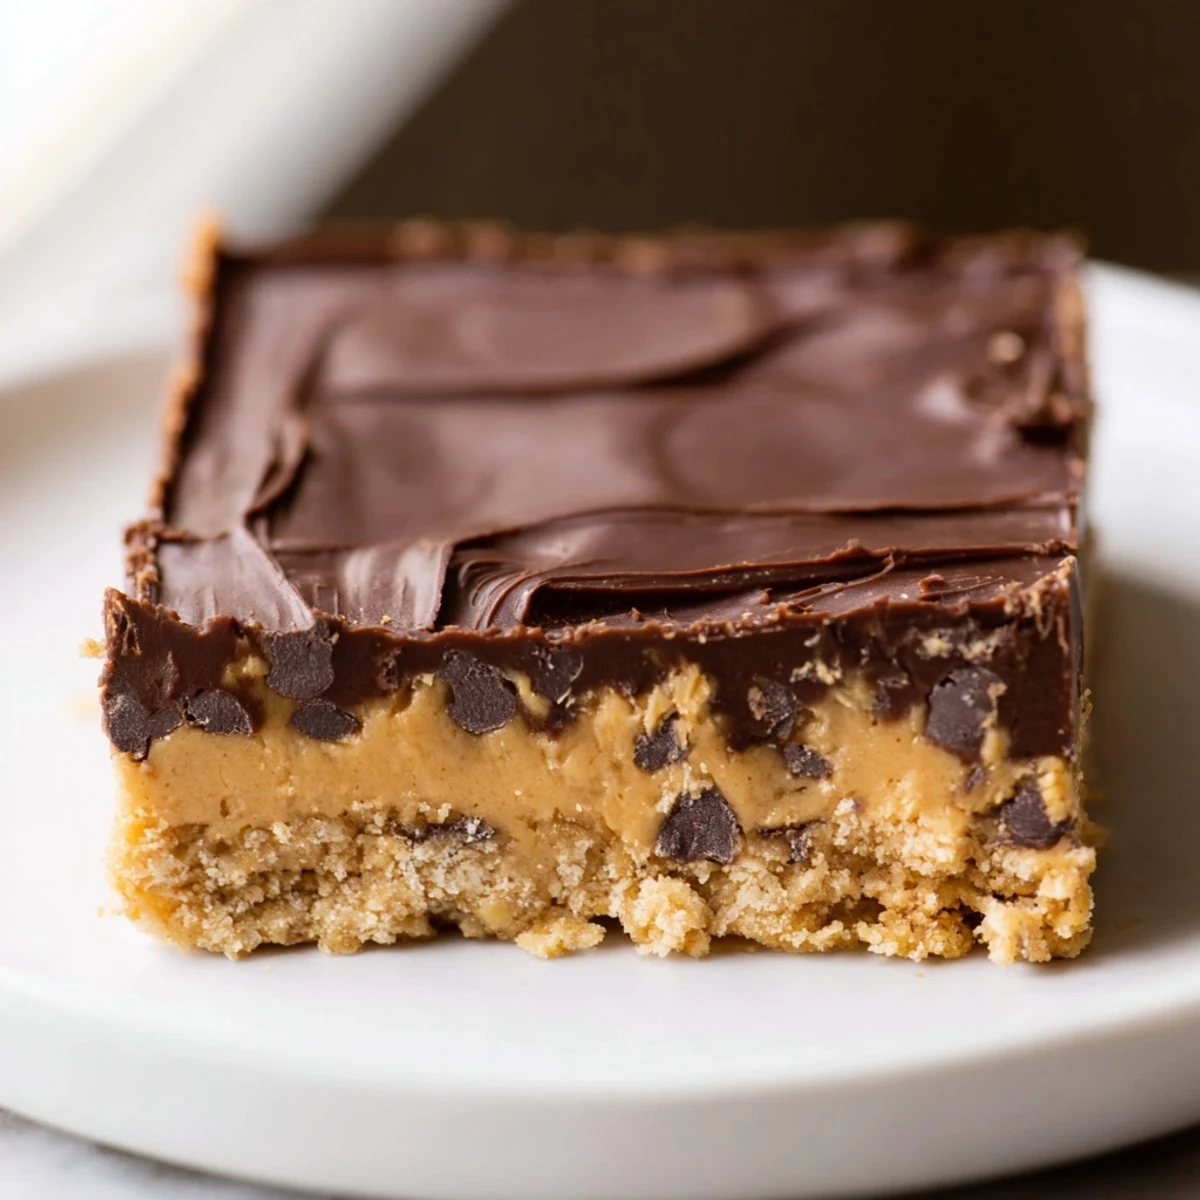
 These indulgent bars feature a buttery peanut butter and graham cracker base topped with velvety melted chocolate. Simply mix, press, and refrigerate for a satisfying homemade dessert that comes together in minutes. The creamy peanut butter layer balances perfectly with the rich chocolate ganache-style topping, creating a classic combination that appeals to both kids and adults alike.
The rain was hammering against the kitchen window and I had exactly nothing planned for the school bake sale the next morning. My pantry offered peanut butter, chocolate chips, and a sleeve of graham crackers that had been sitting there for weeks. Forty minutes later I was cutting into the most absurdly good bars I had ever made, and my daughter stole two before I could wrap them.
I brought a tray to my neighbors during a snowstorm last January and ended up staying for two hours drinking coffee while she told me about growing up in Georgia. She now texts me every few weeks asking if I have any in my fridge. The bars have become a kind of currency I did not expect.
Ingredients
- 1 cup (240 g) creamy peanut butter: Use the regular kind, not the natural stir variety, because the oils in natural peanut butter will make the base greasy and it will not hold together.
- 1/2 cup (115 g) unsalted butter, melted: Melt it fully but let it cool slightly so it does not melt the sugar when you mix.
- 2 cups (200 g) powdered sugar: Sift it if yours is lumpy, because those little hard clumps will show up in every single bite.
- 1 1/2 cups (150 g) graham cracker crumbs: Crush them finely in a zip top bag with a rolling pin or pulse them in a food processor until they resemble sand.
- 1/2 tsp vanilla extract: A small amount but it rounds out the sweetness in a way you will notice if you forget it.
- 1 1/2 cups (255 g) semi sweet chocolate chips: Semi sweet gives you the best balance against the salty base, but milk chocolate works if you have a serious sweet tooth.
- 1/4 cup (60 g) creamy peanut butter for topping: This gets mixed into the melted chocolate and keeps it from hardening into a brick that shatters when you bite.
Instructions
- Line the pan:
- Tear a sheet of parchment paper large enough to hang over the edges of your 9x9 inch pan so you can lift the whole block out later. Press it into the corners firmly.
- Build the base:
- Dump the melted butter, peanut butter, powdered sugar, graham cracker crumbs, and vanilla into a big bowl and stir until everything comes together into a thick dough that smells like the inside of a candy shop. Use your hands for the last bit of mixing if the spoon is not cutting it.
- Press it in:
- Transfer the mixture to your lined pan and press it down firmly and evenly with your palms or the back of a measuring cup. The flatter and smoother you get it now, the nicer your bars will look later.
- Melt the topping:
- Combine the chocolate chips and the extra peanut butter in a microwave safe bowl and heat in 30 second bursts, stirring between each one, until the mixture is glossy and completely smooth. Do not rush this with longer intervals or the chocolate will seize.
- Spread and chill:
- Pour the chocolate mixture over the base and use a spatula to sweep it all the way to the edges. Slide the pan into the refrigerator for at least one full hour until the top is set and no longer soft to the touch.
- Slice and store:
- Use the parchment overhang to lift the whole slab out, then cut into 16 squares with a sharp knife. Wipe the blade between cuts for the cleanest edges.
 Pin it
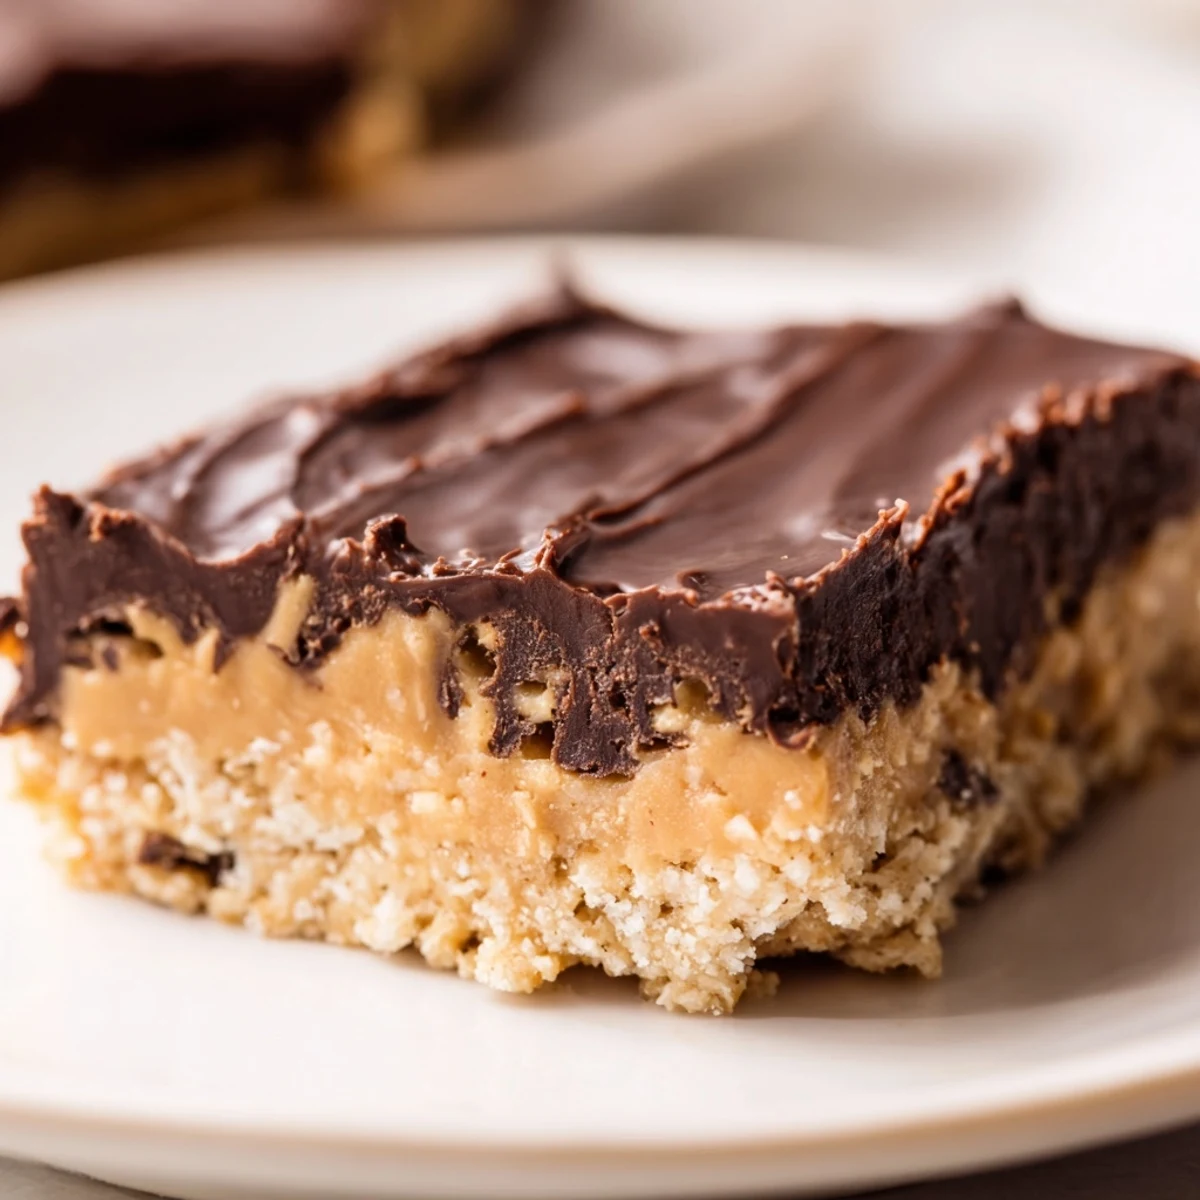
 There is something about the sound the knife makes when it cracks through that chocolate top that makes the whole kitchen feel like a real bakery.
Making Them Your Own
I started tossing a handful of chopped roasted peanuts into the base after the third time making these and now I cannot go back. The crunch adds a dimension that makes each bite more interesting without complicating the recipe. You could also swirl a little honey into the top before it sets, or sprinkle flaky sea salt across the chocolate for a sweet and salty vibe.
Storing and Serving
These bars keep beautifully in an airtight container in the fridge for up to a week, though in my house they never last that long. Let them sit at room temperature for about ten minutes before serving so the chocolate softens just enough to bite through comfortably. You can also freeze them layered between sheets of parchment for up to three months.
A Few Things I Learned the Hard Way
Every batch teaches you something small that makes the next one better. Here are the lessons that stuck with me.
- Measure the powdered sugar by spooning it into the cup and leveling off, because packing it in will make the base dry and crumbly.
- If your kitchen is warm, the chocolate topping might stay tacky, so just give it more fridge time rather than trying to cut too soon.
- Always taste the peanut butter before you start, because an old jar that has gone slightly off will ruin the whole pan.
 Pin it
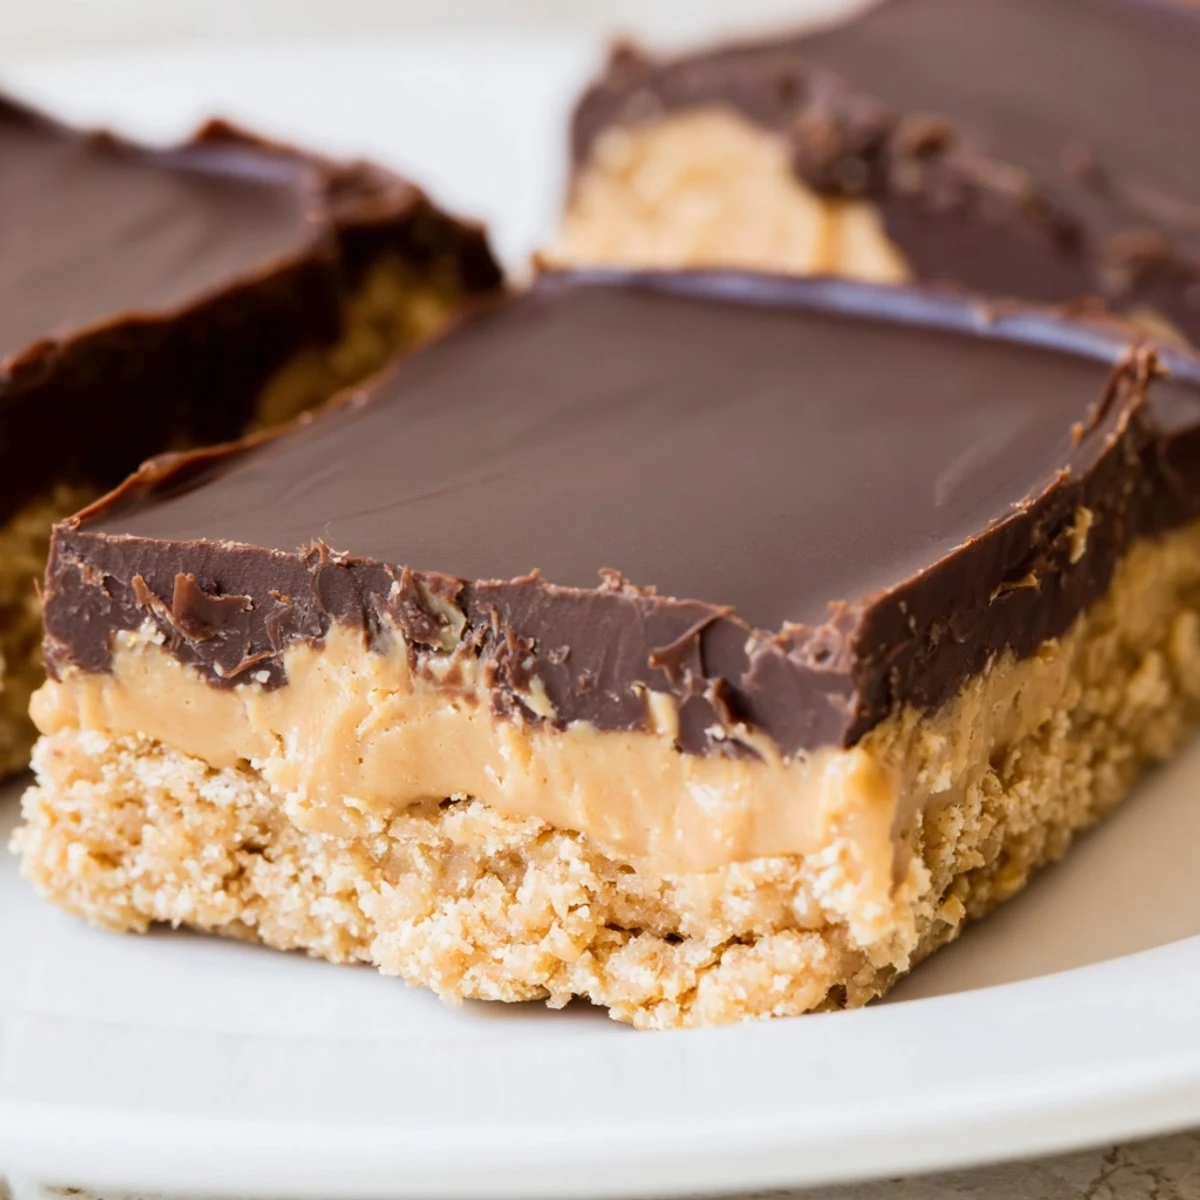
 Keep a plate of these in your fridge and you will always have something to offer unexpected guests, or just yourself on a quiet afternoon.
Recipe FAQs
- → How long do peanut butter bars need to chill?
-
Refrigerate for at least 1 hour until firmly set. For best results, let them chill completely before slicing to achieve clean, even bars. They can be stored in the refrigerator for up to a week.
- → Can I use natural peanut butter?
-
Natural peanut butter will work, but the texture may be slightly softer due to the oil separation. For best results, use creamy commercial peanut butter with stabilizers, or stir natural peanut butter thoroughly and consider reducing the melted butter slightly.
- → What can I substitute for graham cracker crumbs?
-
Digestive biscuits, vanilla wafers, gingersnaps, or even crushed oreos make excellent substitutes. Aim for approximately 1 1/2 cups of finely crushed crumbs to maintain the proper consistency.
- → Can I freeze these bars?
-
Yes, these freeze beautifully. Wrap individual bars in plastic wrap and store in an airtight container for up to 3 months. Thaw in the refrigerator for 1-2 hours before serving.
- → Why did my chocolate topping seize?
-
Chocolate seizes when moisture gets into it. Ensure your bowl and utensils are completely dry. If using the microwave method, heat in 30-second increments and stir gently to prevent overheating.
- → Can I make these dairy-free?
-
Absolutely. Use vegan butter or coconut oil instead of regular butter, and choose dairy-free chocolate chips. The texture remains deliciously creamy and the flavor is just as satisfying.