 Pin it
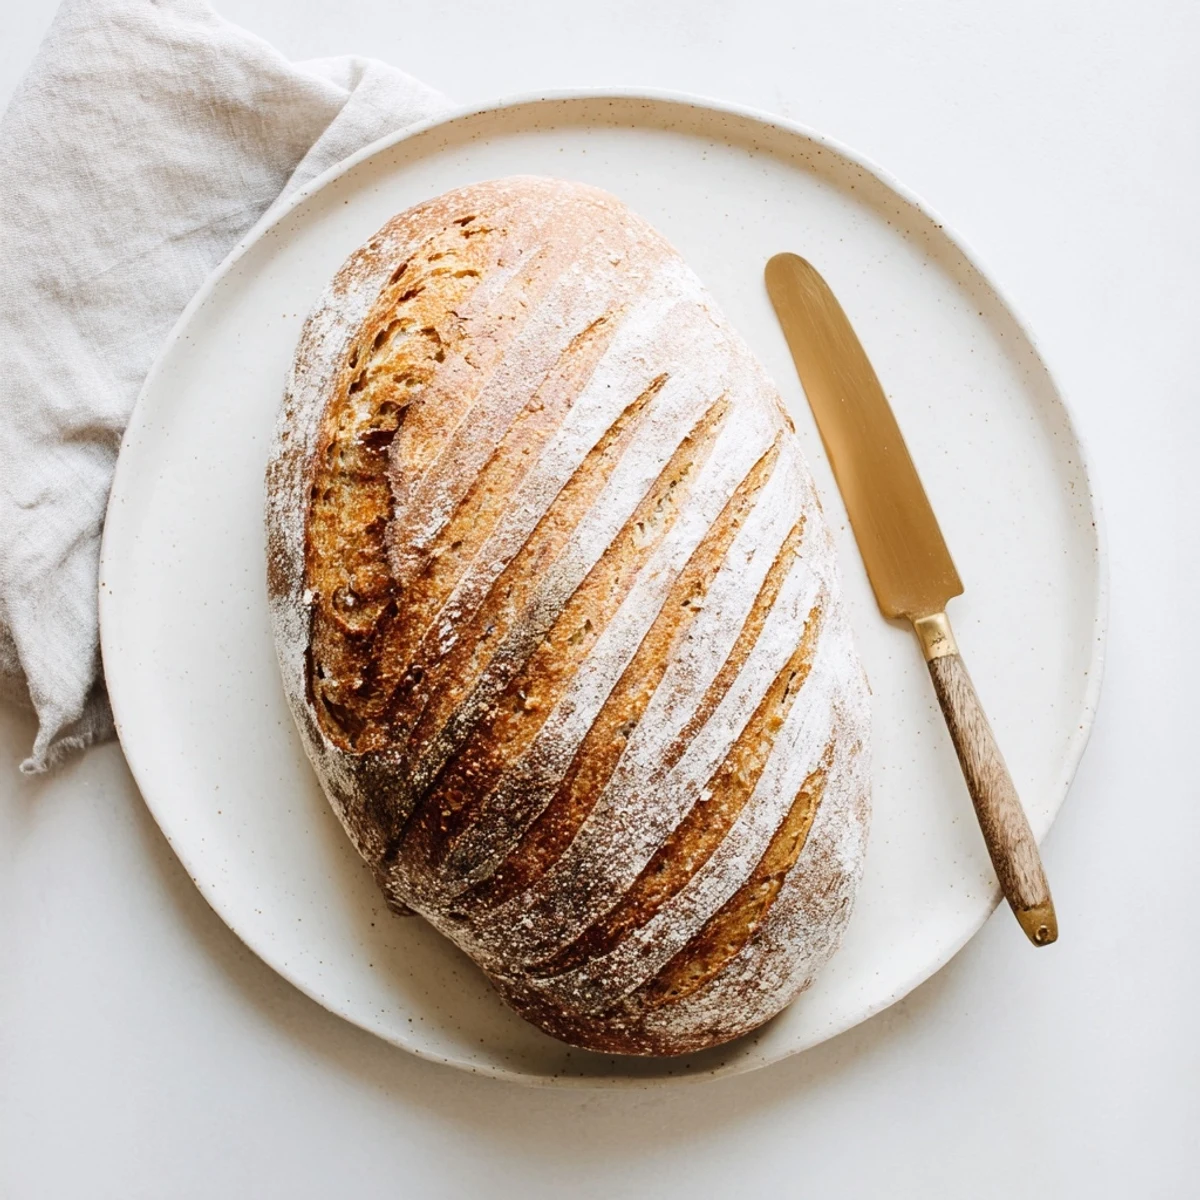
 This classic sourdough delivers everything home bakers love: a crackling crust, airy chewy crumb, and that distinctive tangy flavor that only wild yeast fermentation can provide. The process combines simple ingredients—flour, water, salt, and active starter—with time-tested techniques including autolyse, stretch and folds, and cold fermentation.
While the timeline spans 12-18 hours from start to finish, most of that time is hands-off resting, proving, and chilling. The actual active work takes just 25 minutes spread throughout the day. Baking in a preheated Dutch oven creates the professional-looking steam environment that gives sourdough its signature crust and impressive oven spring.
The smell of sourdough baking transforms an entire house into something resembling an old world bakery. I started my first starter during a particularly rainy March when leaving the house felt like too much effort. Now that jar of bubbling wild yeast feels like the most low maintenance pet I have ever owned. Something about taking flour and water and creating something with this much character still feels like kitchen magic.
My roommate walked in at midnight during my first sourdough attempt and asked why I was hovering over a bowl of flour whispering encouragement. That bread turned out dense and slightly sour but we ate every slice standing up in the kitchen. Three years later the same starter still lives in my fridge and I finally understand what patience actually tastes like.
Ingredients
- Bread flour: Higher protein content than all purpose flour gives better structure and chew
- Water: Room temperature water helps the starter activate without shocking it
- Sourdough starter: An active fed starter creates the rise and distinctive tangy flavor
- Fine sea salt: Enhances flavor and strengthens the gluten structure
- Rice flour: Creates a nonstick surface for proofing and prevents dough from sticking
Instructions
- Mix and rest the dough:
- Combine the flour and water in a large bowl until just combined then cover and let rest for 1 hour
- Add starter and salt:
- Mix in the sourdough starter and salt until the dough becomes cohesive and smooth
- Stretch and fold:
- Perform 4 sets of stretch and folds every 30 minutes over 2 hours keeping the dough covered between each set
- First rise:
- Cover the bowl and let the dough rise at room temperature for 4 to 6 hours until doubled in size
- Shape the loaf:
- Turn the dough onto a floured surface and shape into a tight round or oval loaf
- Proof overnight:
- Place the dough seam side up in a floured proofing basket cover and refrigerate for 8 to 12 hours
- Preheat with Dutch oven:
- Heat the oven to 230°C (450°F) with the Dutch oven inside for at least 30 minutes
- Score and bake:
- Invert the dough onto parchment paper score the top with a sharp blade then transfer to the hot Dutch oven
- Bake covered then uncovered:
- Cover and bake for 20 minutes then remove the lid and bake another 20 minutes until deep golden brown
- Cool completely:
- Let the bread cool on a wire rack for at least 1 hour before slicing to preserve the crumb structure
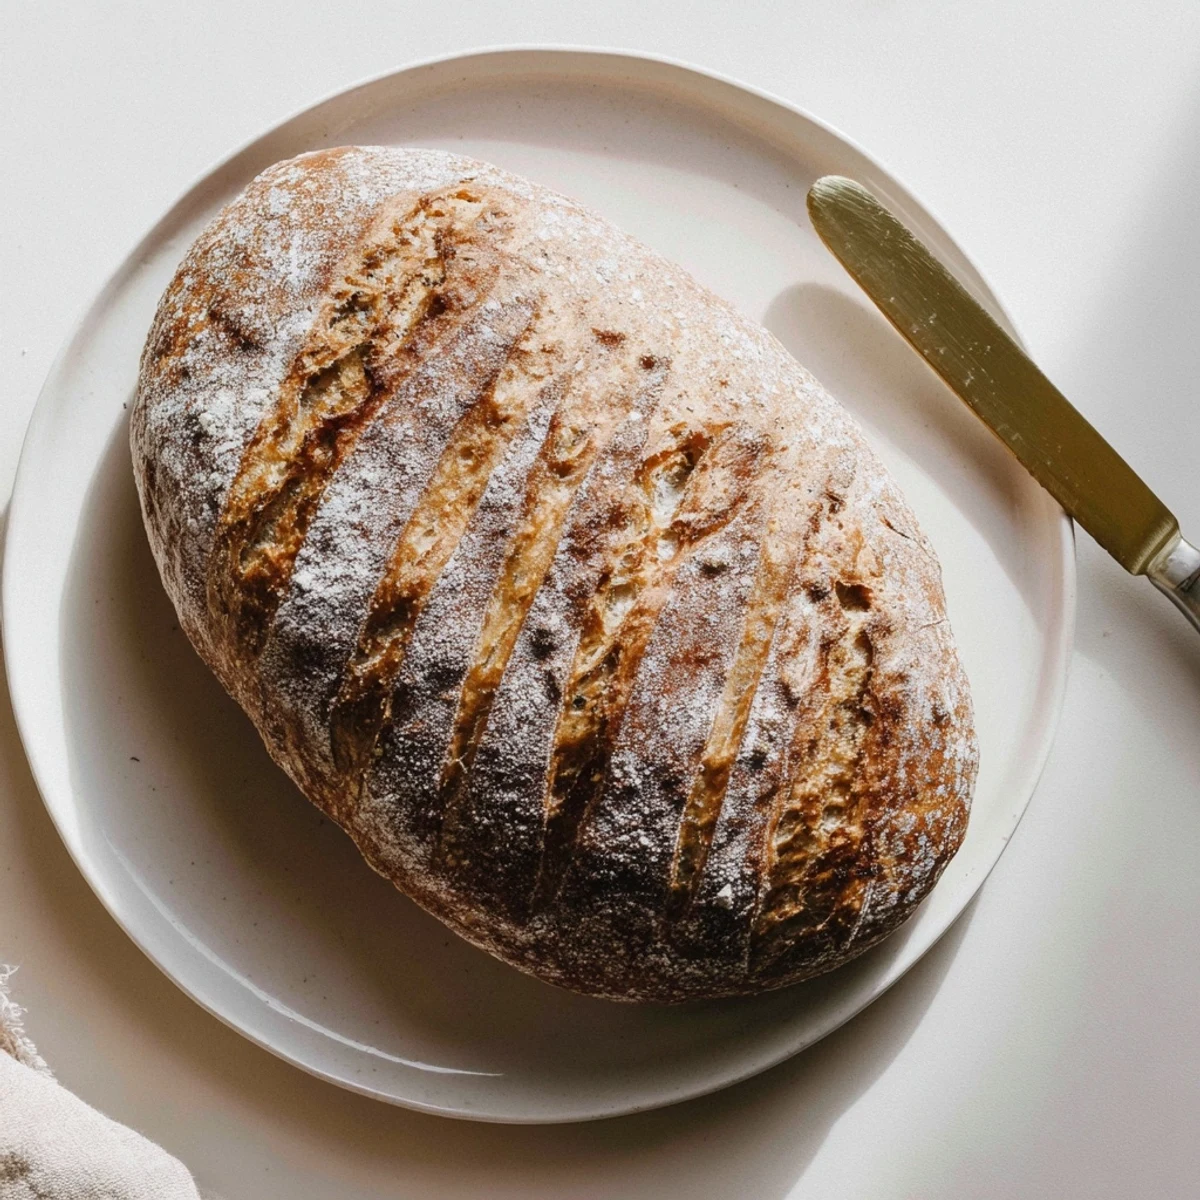 Pin it
 Sunday mornings have become sacred since I mastered this routine. The timer goes off and suddenly the apartment smells like crust and comfort. Friends who claim they do not like bread somehow always find themselves reaching for another slice.
Understanding Fermentation
Long fermentation breaks down phytic acid making nutrients more available and creating that signature tangy taste. The cold proof develops flavor while making the dough easier to handle. Trusting the process instead of the clock was the hardest lesson I learned.
Starter Care
Feed your starter at room temperature when it reaches its peak bubble activity for best results. A healthy starter smells slightly sweet and tangy with visible bubbles throughout. Keep a backup stash in the freezer because kitchen disasters happen to everyone.
Troubleshooting Common Issues
Flat bread usually means the starter was not active enough or the dough overproofed. Dense texture often comes from underfermentation or inadequate gluten development through stretching and folding. An excessively thick crust indicates the oven temperature was too high or the bread baked too long.
- Aim for internal temperature around 200°F (93°C) for fully baked bread
- Let the dough tell you when it is ready through texture and appearance
- Every fl our absorbs water differently so adjust hydration as needed
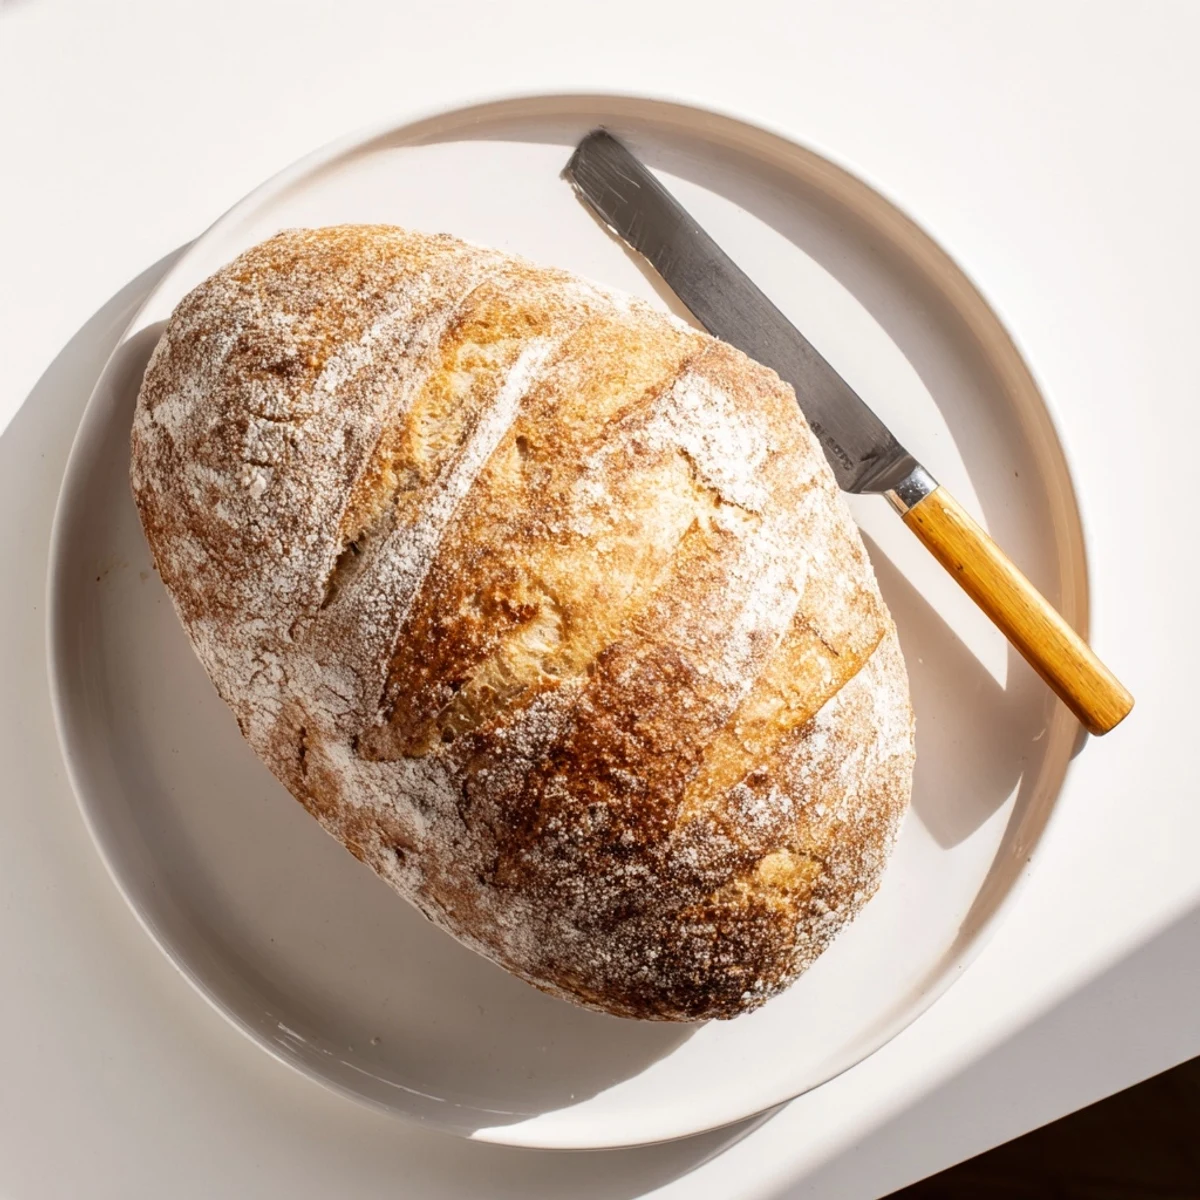 Pin it
 There is something profoundly satisfying about creating bread from just flour water and salt. May your kitchen always smell like patience and possibility.
Recipe FAQs
- → What makes sourdough different from regular bread?
-
Sourdough relies on wild yeast and beneficial bacteria naturally present in flour rather than commercial yeast. This fermentation process creates the characteristic tangy flavor, extends shelf life, and can make nutrients more bioavailable. The longer fermentation also breaks down gluten proteins, which some find easier to digest.
- → Why does sourdough take so long to make?
-
Wild yeast works more slowly than commercial yeast, requiring extended fermentation to develop flavor and rise properly. This slow fermentation creates complex flavor profiles and improves texture. The cold proofing in the refrigerator further enhances flavor development while making the dough easier to handle and score before baking.
- → How do I know if my starter is active enough?
-
An active starter should bubble vigorously within 2-4 hours of feeding at room temperature. It should have a pleasant, slightly tangy aroma. When you drop a spoonful into water, it should float. If your starter shows these signs, it's ready to use. If not, feed it again and wait until it reaches peak activity before beginning your dough.
- → Can I bake without a Dutch oven?
-
A Dutch oven creates the ideal steam environment for crust development, but alternatives exist. You can use a cloche (clay baking dome), place a metal tray of ice cubes in the oven while preheating, or bake under an overturned stainless steel bowl. These methods mimic the professional steam injection that creates a crisp, crackly crust.
- → Why must I wait before slicing?
-
Hot bread is still cooking internally—the starches are setting and moisture is redistributing. Cutting too soon releases steam, causing the crumb to become gummy and dense. Waiting at least one hour allows the interior structure to fully set, ensuring that perfect chewy texture and preventing your loaf from collapsing or becoming doughy.