 Pin it
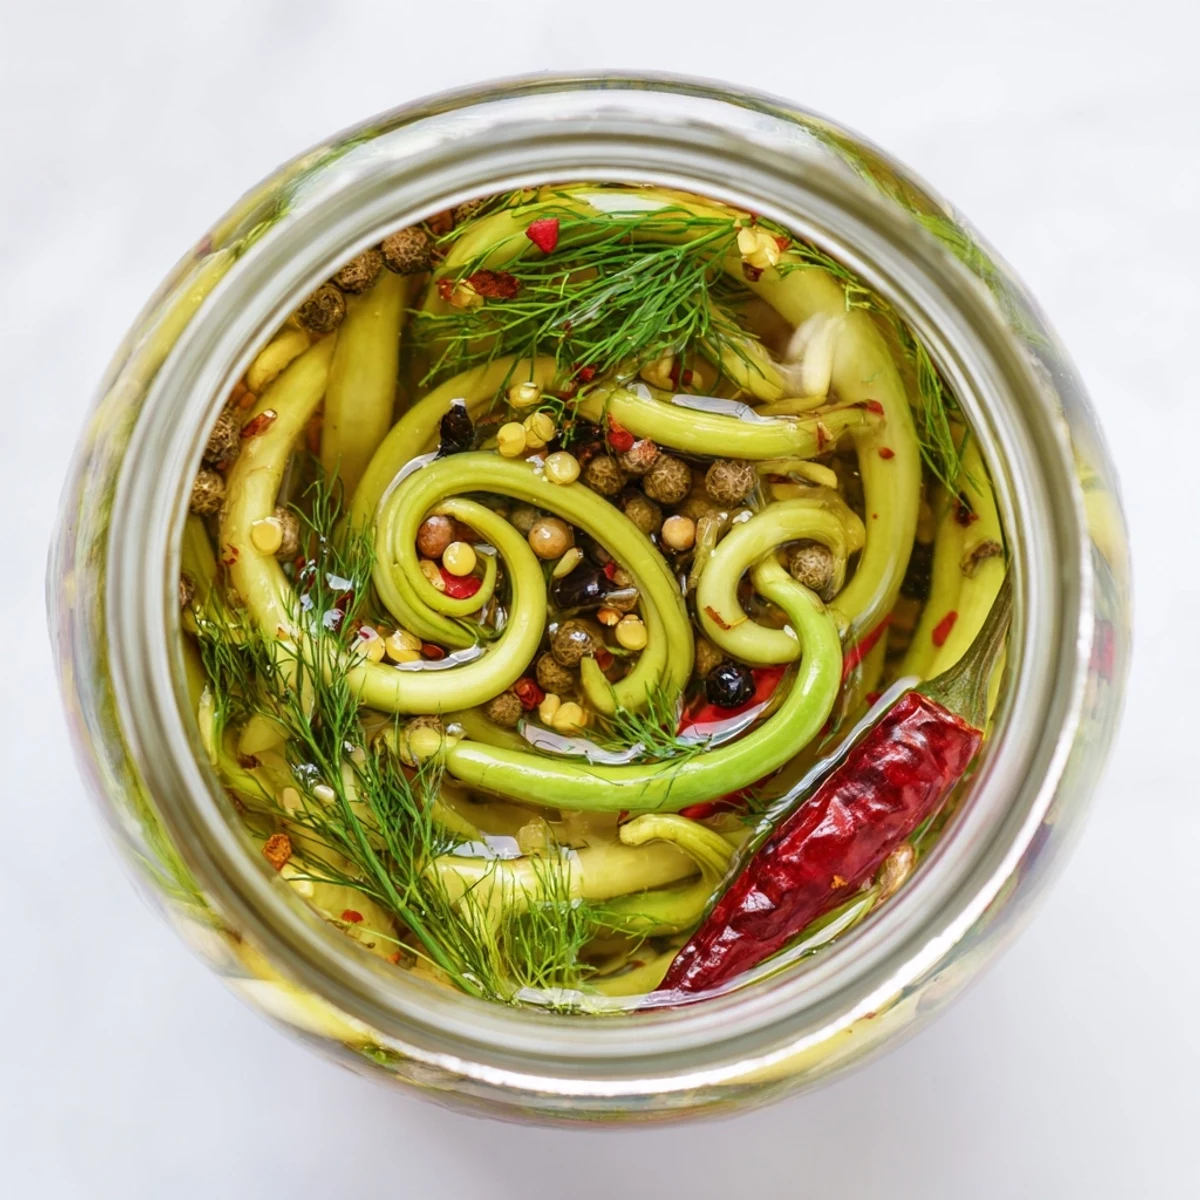
 These spicy pickled garlic scapes deliver a perfect balance of tangy vinegar heat and aromatic spices. The crunchy stems absorb the flavorful brine infused with peppercorns, mustard seeds, coriander, and dried chilies, creating a bold condiment that elevates any dish. Ready in just 25 minutes of active prep, the magic happens during the 48-hour pickling period when flavors deepen and intensify. Keep refrigerated for up to a month and enjoy alongside grilled meats, on cheese boards, or tucked into sandwiches for an instant burst of zesty, garlicky goodness.
I stumbled upon garlic scapes at a farmers market years ago when a farmer practically pressed them into my hands, insisting I'd thank him later. The curly green shoots smelled like garlic but looked like something from an alien garden, and I had no clue what to do with them until I tried pickling. That first jar disappeared within days, and now I find myself hunting for scapes every spring like it's my personal mission.
Last summer I brought a jar to a backyard barbecue where the host was struggling with side dishes. Within ten minutes, someone accidentally knocked the jar over reaching for more, and I spent the rest of the afternoon explaining what these curly green things were to curious guests who'd never seen garlic scapes before.
Ingredients
- 300 g fresh garlic scapes: These curly shoots from hardneck garlic taste like mild garlic crossed with asparagus and are only available for a few weeks each spring, so grab them when you see them and look for firm, bright green ones without any yellowing or soft spots
- 250 ml distilled white vinegar: Use distilled rather than cider vinegar for a cleaner, sharper bite that won't compete with the delicate garlic flavor, and please don't skip the sugar because it balances everything perfectly
- 250 ml water: Filtered or spring water works best since tap water sometimes has minerals that can make the brine cloudy or affect pickling
- 2 tbsp granulated sugar: This small amount rounds out the acidity and helps mellow the garlic's bite without making the pickles taste sweet
- 1 tbsp kosher salt: The larger flakes of kosher salt dissolve more evenly than table salt and provide that classic pickle flavor without being overwhelming
- 1 tsp black peppercorns: Whole peppercorns give gentle warmth rather than sharp heat and look beautiful suspended in the jar
- 1 tsp mustard seeds: These add a subtle earthy flavor and that authentic pickle taste we all recognize from store bought pickles
- 1 tsp coriander seeds: Crush these slightly with the back of a spoon before adding to release their citrusy floral notes
- 1/2 tsp red pepper flakes: Adjust this up or down based on your heat tolerance, but don't skip it entirely because the warmth balances the sharp vinegar
- 2 small dried chilies: Whole chilies look stunning in the jar and infuse a slow, steady heat that builds as the pickles sit
- 2 bay leaves: Remove these before serving if you prefer, but they add a subtle herbal depth that makes these taste professional
- 4 sprigs fresh dill: Completely optional but adds that classic dill pickle flavor and makes the jars look incredibly inviting
Instructions
- Sterilize your jars properly:
- Wash jars and lids in hot, soapy water, rinse thoroughly, then either run them through a dishwasher cycle or boil them for 10 minutes while you prep everything else. Set them upside down on a clean towel until you're ready to fill them.
- Prep the garlic scapes:
- Trim the woody ends where they were cut from the bulb, then cut the scapes into lengths that fit your jars with some room at the top. The curly shapes naturally coil, so don't fight it, just tuck them in so they nestle together.
- Pack those jars tight:
- Divide the scapes, dill sprigs, and dried chilies between your two sterilized jars, pressing them down gently to remove air pockets. You want them snug but not crammed so tightly that the brine can't circulate properly.
- Add the aromatic spices:
- Split the peppercorns, mustard seeds, coriander seeds, red pepper flakes, and bay leaves evenly between both jars. Try to distribute some spices throughout different layers rather than dumping everything at the top.
- Create the brine:
- Combine the vinegar, water, sugar, and salt in a saucepan and bring to a boil over medium high heat. Stir constantly until the sugar and salt completely dissolve, then remove from heat immediately.
- Pour and seal:
- Carefully ladle the hot brine over the packed scapes, leaving about a half inch of headspace at the top. Use a chopstick or skewer to gently tap the sides and release any trapped air bubbles, then seal tightly with lids.
- The hardest part, waiting:
- Let the jars cool completely on the counter, then refrigerate for at least 48 hours before opening. I know it's tempting to try them sooner, but the flavor transformation happens during that waiting period.
 Pin it
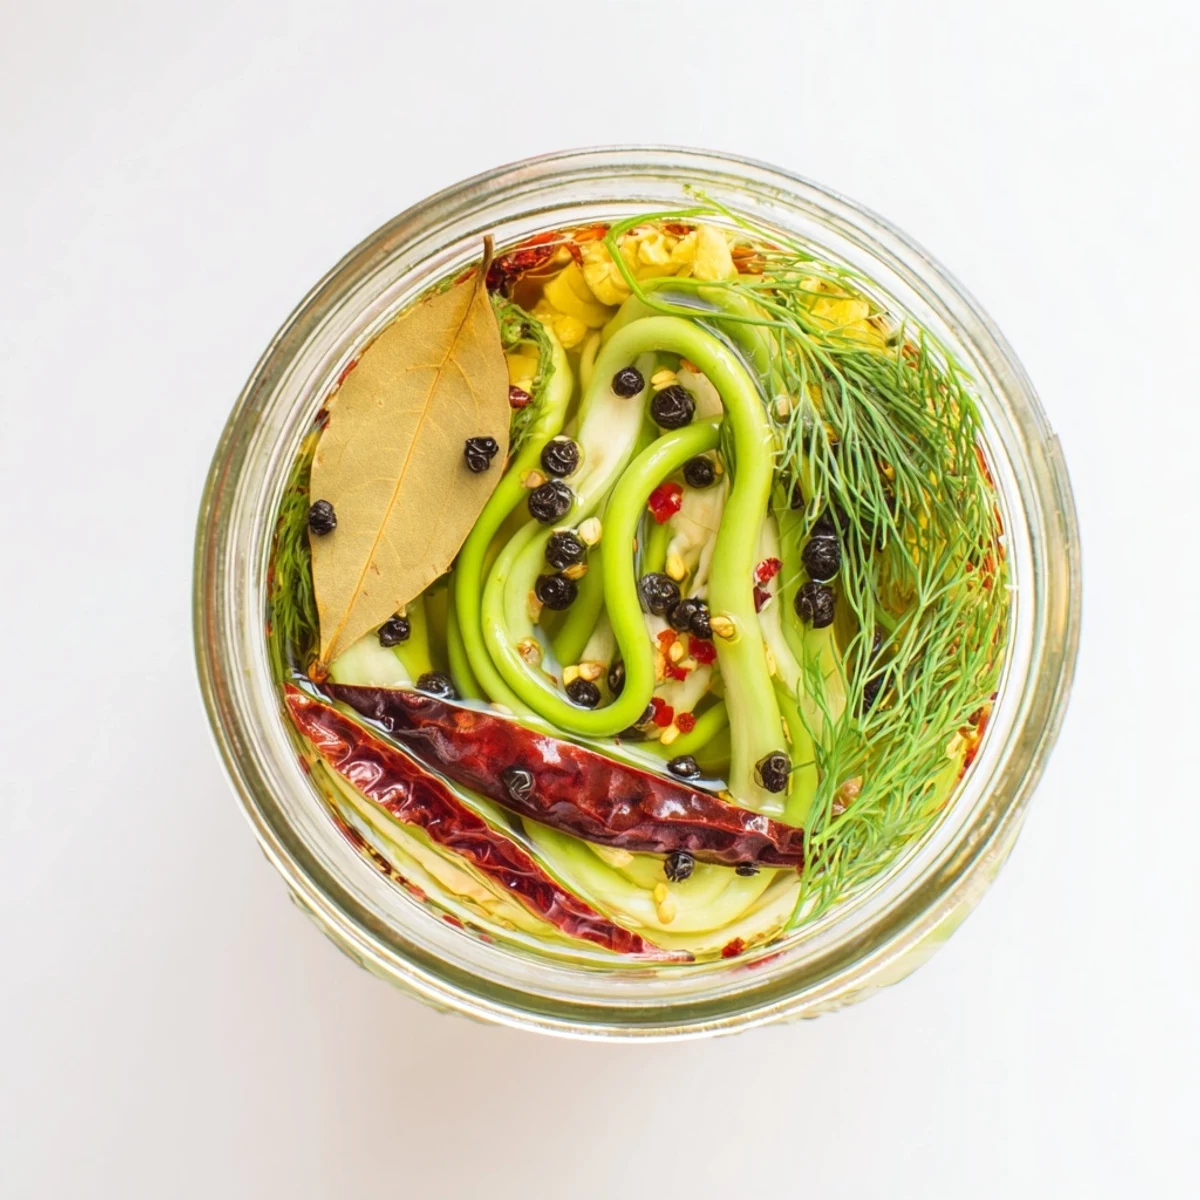
 My neighbor now texts me every June asking when scape season starts because she fell in love with these at a dinner party last year. There's something satisfying about putting up jars of something that tastes like spring captured in glass.
Pairing Ideas That Work
These pickles shine brightest alongside rich, fatty foods that need something bright and acidic to cut through. Try them with aged cheddar on a cheese board, chopped into potato salad, or alongside braised short ribs. They're also unexpectedly perfect on a burger with goat cheese or scattered over a rich grain bowl with roasted vegetables.
Make Them Your Own
The brine ratio works perfectly with other vegetables when scapes aren't in season. I've used the same liquid for pickled carrots, radishes, and even green beans. Sometimes I add a sliced onion or a few garlic cloves to the jar just because I love how they absorb the spiced vinegar flavor and become delicious on their own.
Storage And Troubleshooting
Keep these refrigerated and they'll stay crisp for at least a month, though honestly they've never lasted that long in my house. If the scapes start losing their crunch or the brine becomes cloudy or slimy, that's your signal to compost them and start fresh.
- Don't reuse the brine for a second batch, the flavor weakens considerably and the pickling power diminishes
- If your scapes seem too thick or woody, use a vegetable peeler to remove the outer layer before pickling
- Always use clean utensils when removing pickles from the jar to prevent introducing bacteria that could shorten their shelf life
 Pin it
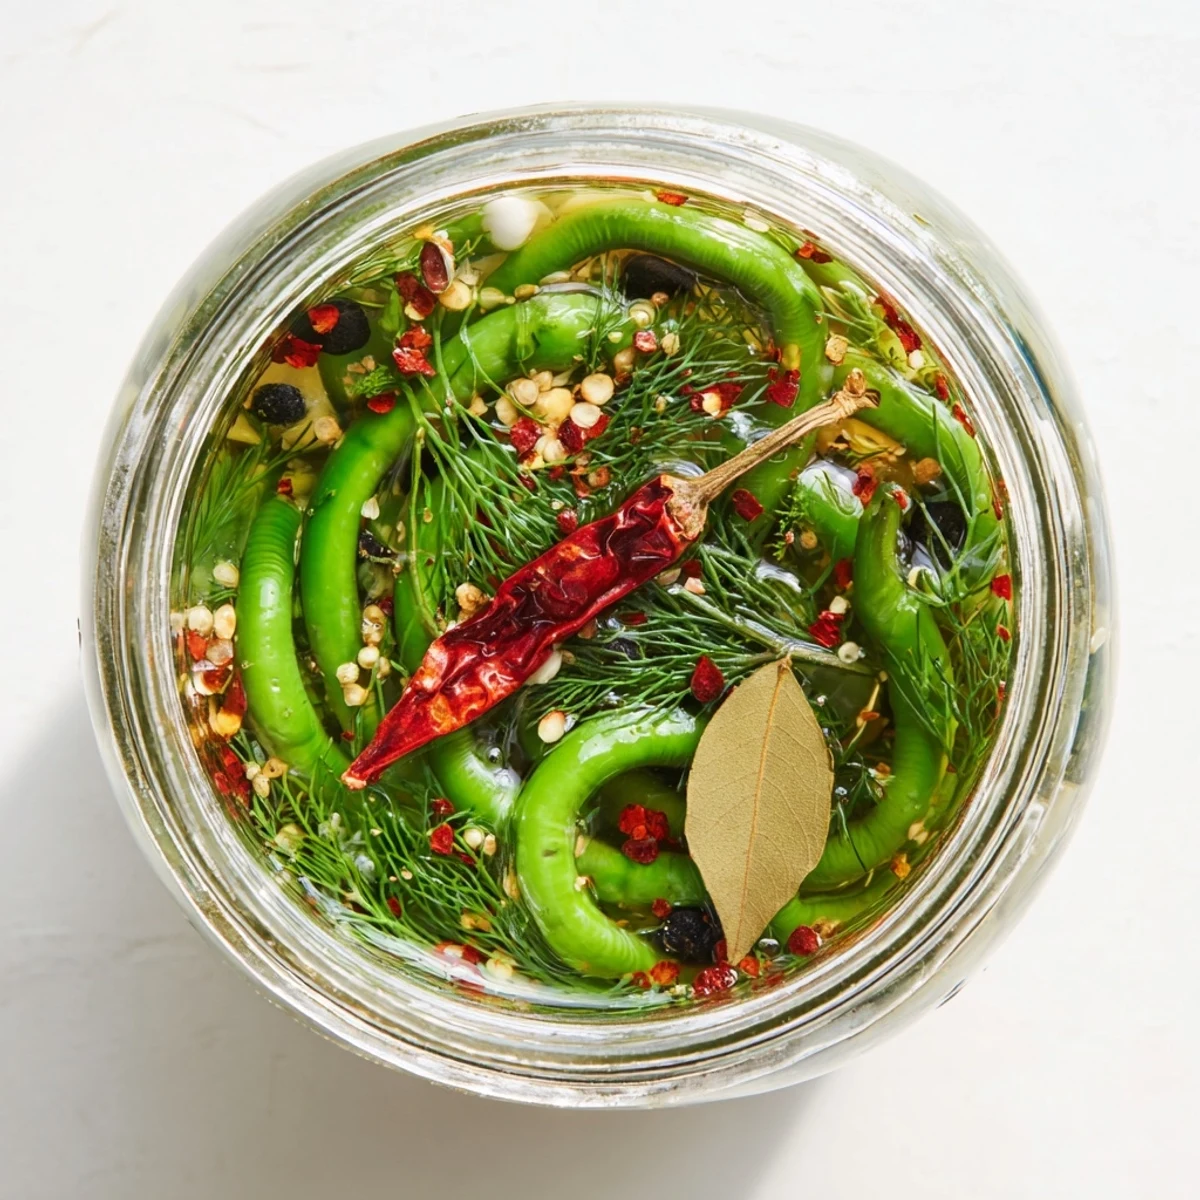
 There's something deeply satisfying about opening that first jar and catching the sharp, spicy aroma of garlic and vinegar. These pickles have become one of those things I can't imagine not having in my refrigerator.
Recipe FAQs
- → How long do pickled garlic scapes last?
-
When properly refrigerated, these spicy pickled garlic scapes stay fresh for up to one month. Keep them submerged in the brine and store in a sealed container for maximum shelf life.
- → Can I adjust the spice level?
-
Absolutely. Increase the red pepper flakes or add extra dried chilies for more heat, or reduce these ingredients for a milder version. The spice level is completely customizable to your preference.
- → What can I serve with pickled garlic scapes?
-
These tangy scapes shine on charcuterie boards, alongside grilled meats, stirred into salads, or layered into sandwiches. They also make excellent standalone snacks for bold flavor lovers.
- → Do I need special canning equipment?
-
No special equipment required beyond two pint glass jars with lids, a saucepan for the brine, and basic measuring tools. Simple refrigerator pickling keeps the process accessible and straightforward.
- → Can I add other vegetables?
-
Yes. Sliced carrots, radishes, or even cucumber slices can be pickled alongside the garlic scapes using the same brine. Just ensure all vegetables stay submerged for proper preservation.