
 Pin it
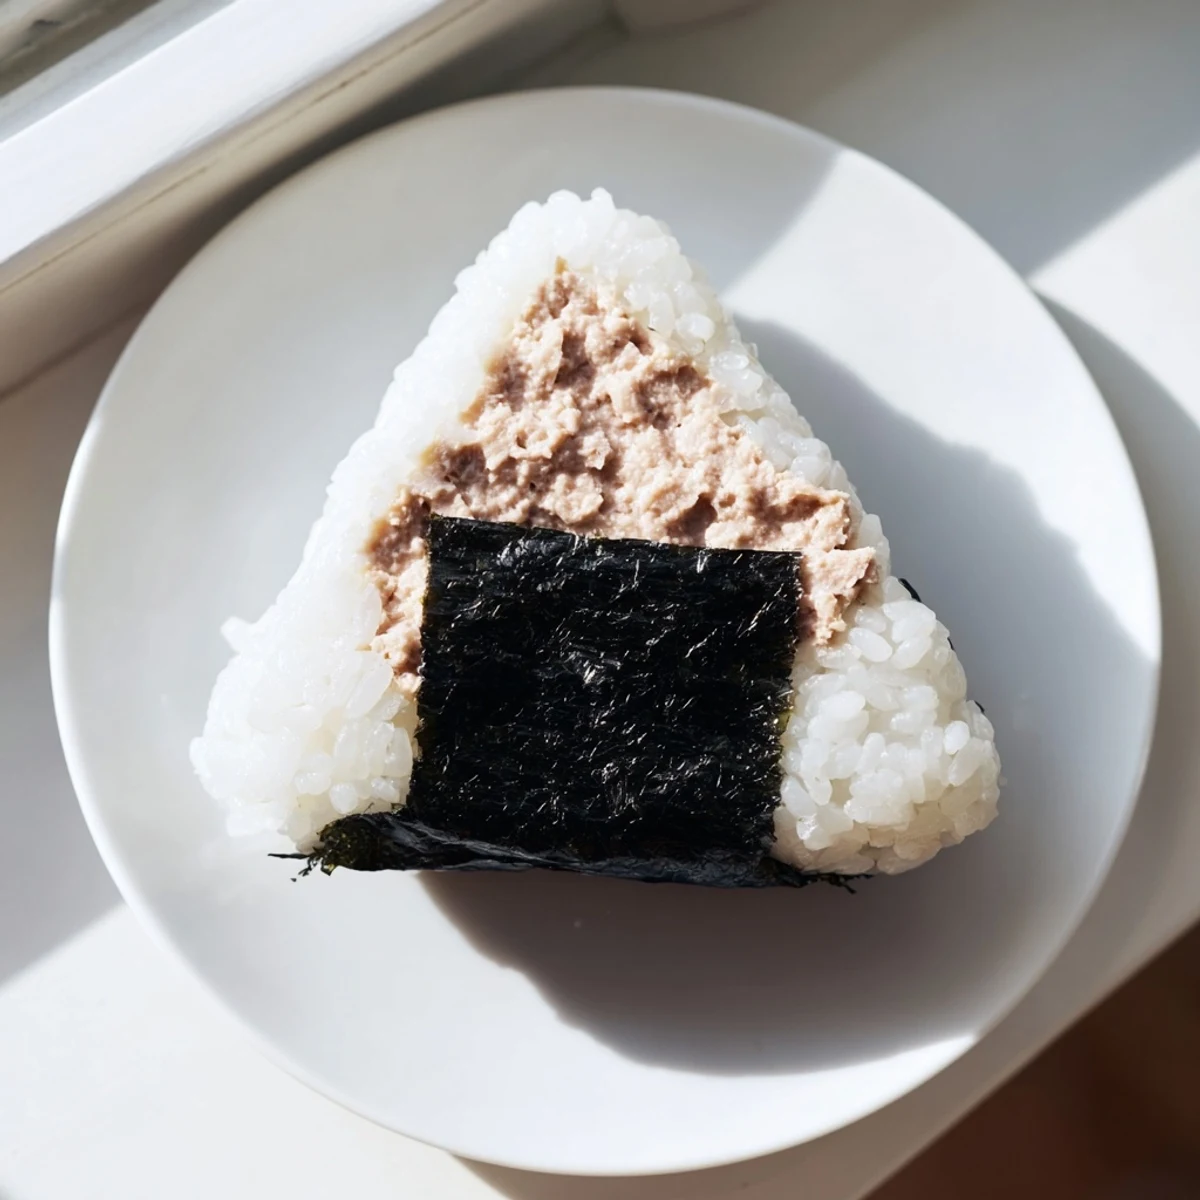
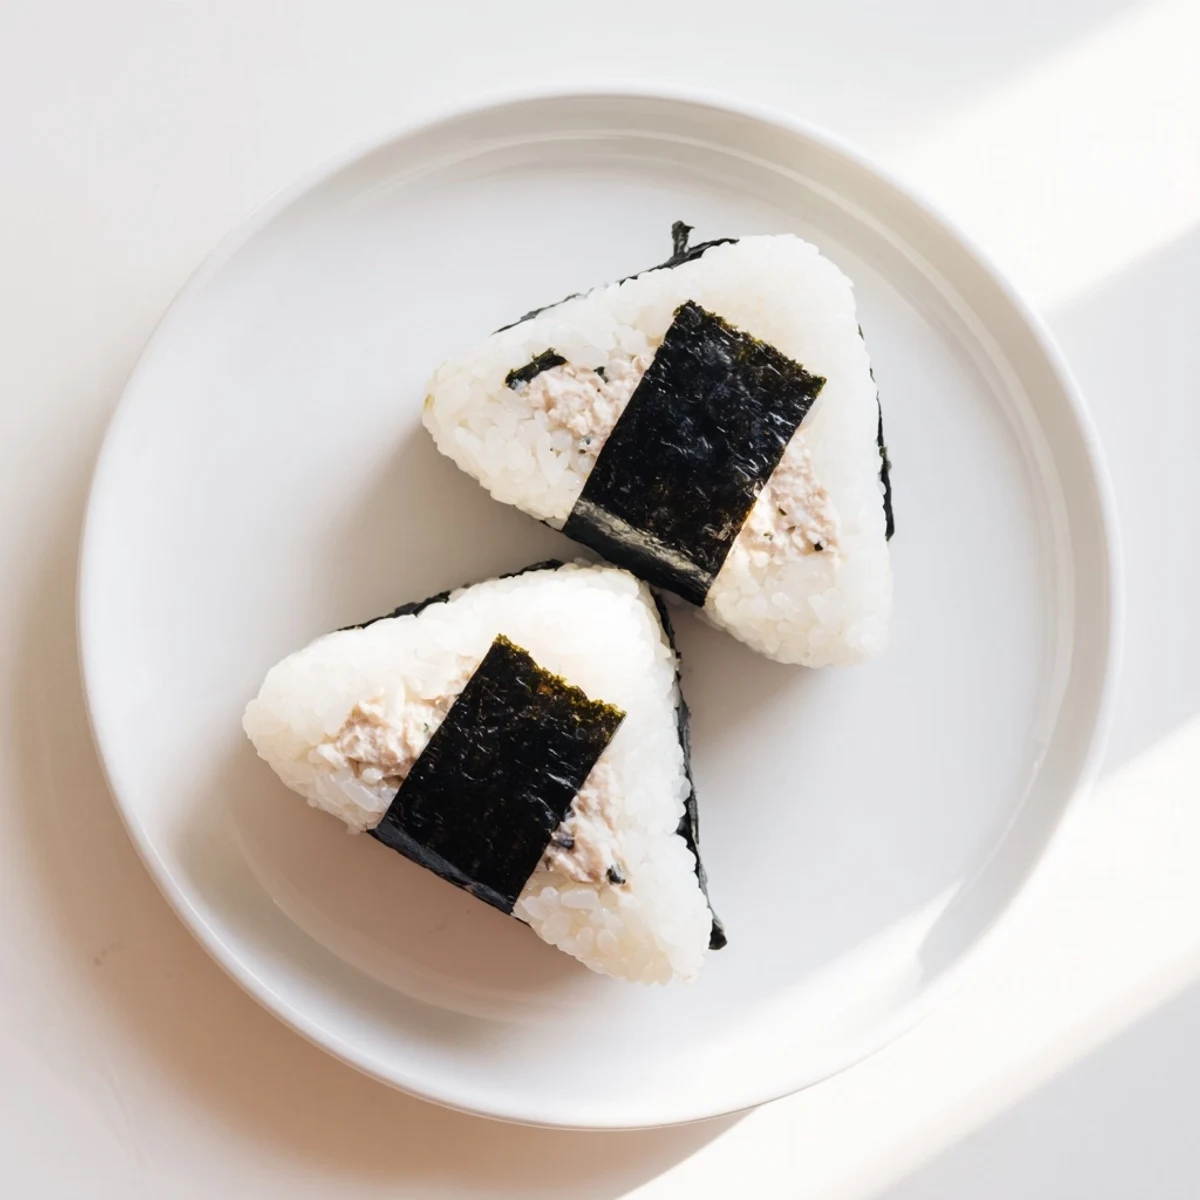
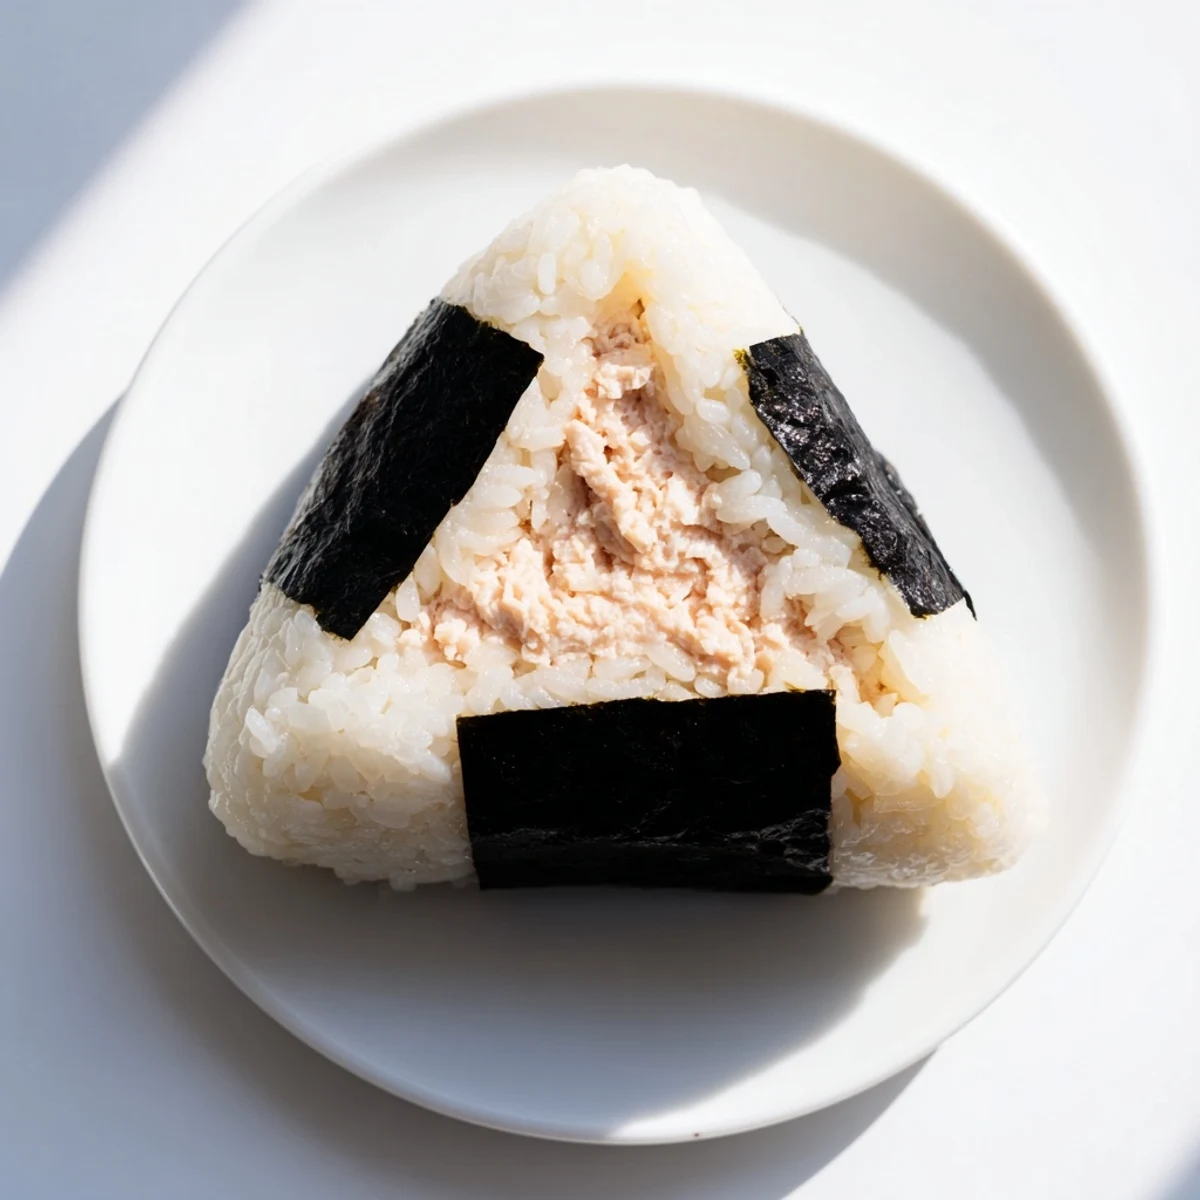
 Create these beloved Japanese rice balls with a creamy tuna mayonnaise center. The combination of warm short-grain rice and savory filling makes for an ideal portable meal or snack. Traditionally shaped by hand with lightly salted palms, each onigiri gets wrapped with crisp nori strips for easy handling.
The filling comes together quickly by mixing canned tuna with Japanese mayonnaise, soy sauce, and a touch of pepper. While the rice cooks, prepare the filling, then shape the warm rice around the savory center. The technique of wetting and salting your hands prevents sticking while seasoning the exterior.
These handheld treats are perfect for lunchboxes, picnics, or quick meals on busy days. Best enjoyed fresh but can be refrigerated overnight wrapped tightly. Customizable with additions like scallions or sesame oil for extra flavor depth.
There is something deeply satisfying about pressing warm rice into your palms and feeling it take shape, a small triangle of comfort that fits perfectly in your hand. My obsession with onigiri started during a rainy afternoon in a tiny Tokyo convenience store where I grabbed one wrapped in crackly nori and bit into creamy tuna mayo that somehow tasted like a hug. Back home, I tried recreating that moment dozens of times, burning rice, oversalting, and once dropping an entire batch onto the kitchen floor. These tuna mayo onigiri are the result of all those messy attempts, and they come together in about half an hour.
I packed six of these into a bento box for a friend hiking trip last spring and they disappeared before we reached the trailhead, so now I always make a double batch and hide a few for myself.
Ingredients
- Japanese short grain rice (2 cups): This is nonnegotiable because long grain rice will crumble and fall apart when you try to shape it.
- Water (2 1/2 cups): The ratio matters more than you think, so measure carefully for that perfect chewy stickiness.
- Tuna in water, drained (1 can, 5 oz): Drain it really well by pressing the lid down into the can, because soggy filling ruins the texture.
- Japanese mayonnaise like Kewpie (3 tablespoons): The egg yolks and rice vinegar in Kewpie create a richness that regular mayo simply cannot replicate.
- Soy sauce (1 teaspoon): Just a splash deepens the savory flavor without overpowering the delicate tuna.
- Ground black pepper (1/4 teaspoon, optional): A gentle warmth that most people do not expect but always appreciate.
- Salt (1/2 teaspoon): Used on your hands during shaping, it seasons the outside of the rice and stops sticking.
- Nori sheets cut into strips (6 small pieces): The crackly seaweed wrap adds a savory crunch and makes them easier to hold.
Instructions
- Clean the rice:
- Rinse the rice under cold running water, swirling gently with your fingers, until the water turns from cloudy to nearly clear, which usually takes four or five changes. Drain it well so your final rice is not waterlogged.
- Cook until tender:
- Combine the rinsed rice and measured water in a rice cooker or heavy bottomed pot and cook according to your device instructions. Let it rest covered for ten minutes after cooking so the grains firm up slightly.
- Mix the filling:
- While the rice rests, dump the drained tuna into a bowl with mayonnaise, soy sauce, and pepper, then fold everything together until it becomes a creamy, cohesive mixture. Taste it and adjust the soy sauce if you want more punch.
- Shape the onigiri:
- Wet your hands with water, rub salt across your palms, and scoop about half a cup of warm rice, flattening it into a disc. Plop a generous spoonful of tuna mayo in the center, then gently fold the rice over it and cup your hands into a triangle shape, pressing firmly but not crushing.
- Wrap and finish:
- Press a strip of nori onto one side of each triangle, wrapping it partway around like a little jacket. The nori softens slightly against the warm rice, which is exactly what you want for that tender chew.
 Pin it
 The first time I got the triangle shape right I actually cheered out loud in my kitchen, and my cat stared at me like I had lost my mind, which was probably fair.
A Few Twists Worth Trying
Chopped scallions folded into the tuna mayo add a bright bite that cuts through the richness, and a small drizzle of toasted sesame oil transforms the filling into something that tastes far more complex than the effort suggests. I sometimes press a pinch of toasted sesame seeds onto the outside of the rice before wrapping for extra crunch.
Storing Them Properly
Onigiri are best eaten the same day because the nori loses its snap and the rice dries out overnight, but if you must save them, wrap each one tightly in plastic and refrigerate for up to twenty four hours. Let them come closer to room temperature before eating so the rice softens again.
What I Wish Someone Told Me
The shaping takes practice, and your first few will look lumpy and weird, and that is completely fine because they still taste incredible. Keep a bowl of water nearby and work with confidence rather than hesitation, since rice responds better to decisive hands than tentative ones.
- If shaping with bare hands feels impossible, press rice and filling into a small plastic bag corner for a cleaner triangle.
- Regular mayonnaise works in a pinch but add a tiny squeeze of lemon to mimic the tang of Kewpie.
- Always wrap the nori at the very end right before eating so it stays crisp as long as possible.
 Pin it
 These little rice balls have a way of turning an ordinary afternoon into something that feels quietly special. Pack them, share them, or sit on your kitchen floor and eat them while they are still warm.
Recipe FAQs
- → What type of rice works best for onigiri?
-
Japanese short-grain rice is essential because its sticky texture holds the triangular shape together. Medium-grain rice can work in a pinch, but long-grain varieties like basmati won't bind properly and will fall apart when shaping.
- → Can I make onigiri ahead of time?
-
Yes, you can prepare them up to 24 hours in advance. Wrap each onigiri tightly in plastic wrap and refrigerate. Let them come to room temperature before eating, as cold rice loses its ideal texture. For best results, make and enjoy the same day.
- → What makes Japanese mayonnaise different from regular mayo?
-
Japanese mayonnaice like Kewpie uses egg yolks instead of whole eggs and includes rice vinegar or apple cider vinegar, creating a richer, tangier flavor with a creamier consistency. Regular mayonnaise works but will produce a slightly different taste profile.
- → Why do I need to salt my hands when shaping?
-
Lightly salting your palms serves two purposes: it seasons the exterior rice lightly, and combined with wet hands, it prevents the sticky rice from clinging to your skin. This traditional technique makes shaping much easier and adds subtle flavor.
- → Can I freeze onigiri for later?
-
Yes, freeze them immediately after shaping without nori. Wrap individually in plastic wrap and freeze for up to one month. Thaw in the refrigerator overnight, then add fresh nori before eating. Microwave briefly for warmth if desired.
- → What other fillings can I use?
-
Popular alternatives include salmon flakes with ikura (salmon roe), pickled plum (umeboshi), cooked ground meat with vegetables, salted salmon, or tarako (cod roe). The possibilities are endless once you master the shaping technique.