 Pin it
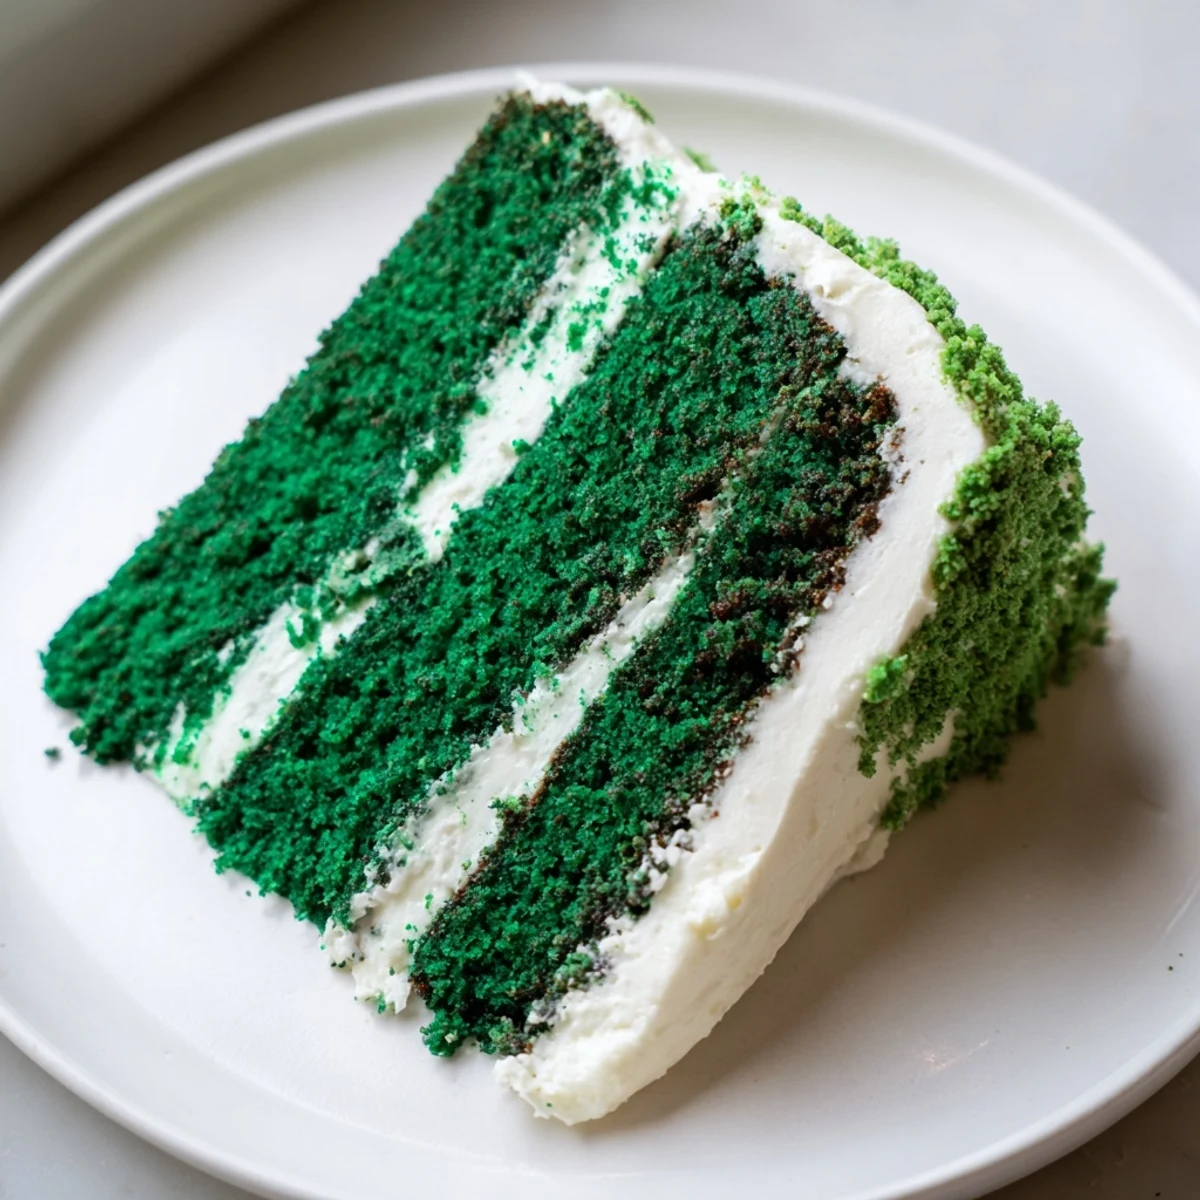
 This striking emerald dessert delivers everything you love about classic velvet cakes with a festive green makeover. The crumb stays incredibly moist thanks to buttermilk and oil, while just enough cocoa powder provides that signature depth without overpowering the vibrant hue. The tangy cream cheese frosting balances the sweetness perfectly, creating that beloved velvety contrast. What makes this special is how the green coloring transforms familiar flavors into something celebratory—perfect for St. Patrick's Day gatherings, spring celebrations, or whenever you want to serve something unexpectedly bold. The method follows the same reliable technique as traditional velvet cakes, ensuring consistent results even for bakers trying something new.
The first time I attempted a green velvet cake, my kitchen looked like a St. Patrick's Day explosion had gone wrong. I was twenty-two, trying to impress new friends with something festive, and I couldn't figure out why my batter kept turning swamp-brown instead of emerald. Turns out, liquid food coloring was my enemy that day. Now I keep a stash of gel coloring in the cupboard, and every March brings back memories of that disastrous yet delicious first attempt.
Last year my sister called me at 11 PM, panicked about her office potluck the next morning. We made this cake together over FaceTime, her in her pajamas with flour in her hair, me walking her through each step. She texted later that her coworkers fought over the last slice, and honestly, that's the highest compliment a baker can get.
Ingredients
- All-purpose flour: The backbone that gives this cake its structure, so measure carefully
- Unsweetened cocoa powder: Just enough to deepen the flavor without overpowering the delicate crumb
- Baking soda: Works with that tablespoon of vinegar to create the most tender lift
- Granulated sugar: Sweetens and tenderizes, creating that velvet texture we're after
- Vegetable oil: Keeps the cake incredibly moist, unlike butter which can firm up when chilled
- Large eggs: Must be room temperature or they won't emulsify properly with the oil
- Buttermilk: The secret ingredient that makes velvet cakes so uniquely soft and tangy
- White vinegar: Reacts with buttermilk to activate the baking soda perfectly
- Green gel food coloring: Gel is concentrated, so start small and work your way up to emerald dreams
- Cream cheese: Full fat and properly softened is non-negotiable for silky frosting
- Unsalted butter: Room temperature means you can press your finger into it and leave an indent
- Powdered sugar: Sifting might seem tedious, but it prevents those dreaded lumpy frosting moments
Instructions
- Prep your space and pans:
- Get that oven to 350°F and grease two 9-inch rounds with butter, then cut parchment circles to line the bottoms. Trust me, the parchment saves lives when it's time to flip the cakes out.
- Whisk the dry team:
- In a medium bowl, combine flour, cocoa powder, baking soda, and salt. Set this aside while you work on the wet ingredients—keeping them separate prevents premature activation of the baking soda.
- Build the wet base:
- Beat sugar and oil in a large bowl until they're friends, then add eggs one at a time. Let each egg fully incorporate before adding the next, or you'll end up with a curdled mess.
- Add the magic liquids:
- Pour in buttermilk, vanilla, vinegar, and green gel coloring. Whisk until the whole mixture transforms into this shocking, beautiful emerald that makes you grin every single time.
- Combine everything gently:
- Add those dry ingredients in two batches, folding just until you don't see flour anymore. Overmixing here is the enemy of tender cake, so channel your inner gentle soul.
- Bake until perfect:
- Divide batter between your prepared pans and slide them into the oven. At the 28-minute mark, start checking—a toothpick in the center should come out clean, with maybe a moist crumb or two clinging to it.
- The patience phase:
- Let the cakes cool in their pans for exactly 10 minutes, then flip onto wire racks. Complete cooling is non-negotiable here, or your frosting will melt right off that warm cake.
- Make the frosting:
- Beat softened cream cheese and butter until they're creamy and dreamy, then sift in that powdered sugar with vanilla and a pinch of salt. Whip until it's lighter than air and you can't stop tasting it.
- Assembly time:
- Place one cake layer on your serving plate and spread a generous layer of frosting. Top with the second layer, then frost the entire cake until it's smooth and stunning.
 Pin it
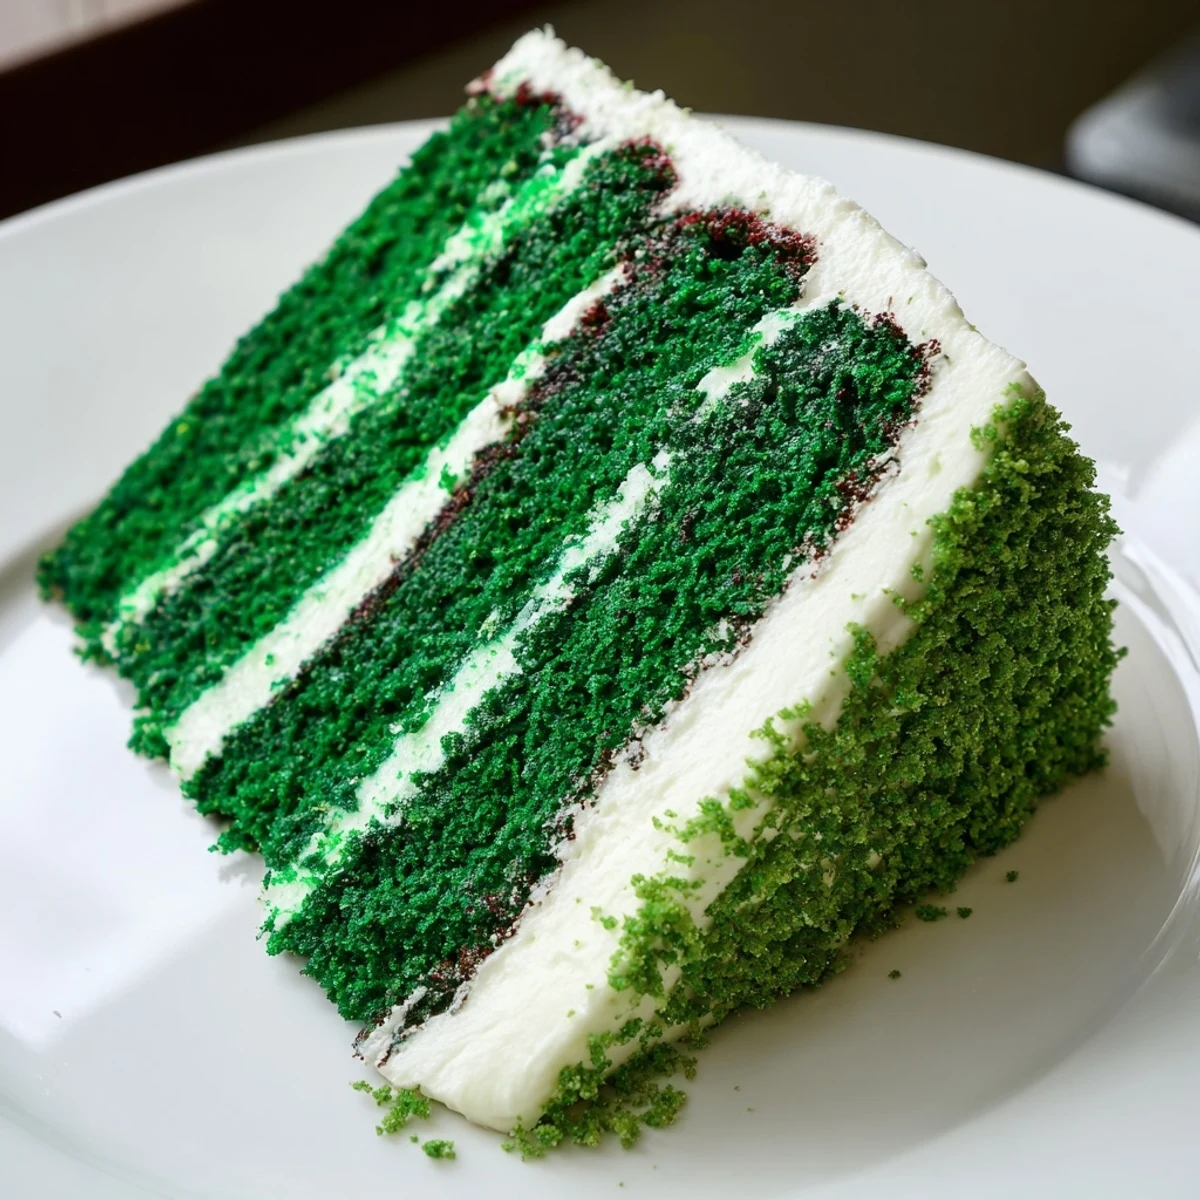
 My grandmother would have laughed at this cake—she was traditional to her core about food—but I think she would have secretly loved how something so unusual could bring people together. There's something about serving a vibrant green cake that makes people let their guard down and just enjoy the moment.
Making It Ahead
I've learned that wrapped tightly in plastic, these cake layers freeze beautifully for up to a month. Thaw them in the refrigerator overnight before frosting, and nobody will ever know you didn't bake them that morning.
Frosting Like A Pro
After applying a thin crumb coat over the entire cake, chill it for 20 minutes before the final layer of frosting. This simple trick keeps those pesky red crumbs from showing through your pristine white cream cheese clouds.
Serving Suggestions
This cake somehow tastes even better the next day, once those flavors have had time to become best friends overnight. Serve it with coffee after dinner or bring it to a brunch where you want to be the person who made that incredible green cake.
- Chill the frosted cake for 30 minutes before slicing for cleaner cuts
- A warm knife dipped in hot water glides through like butter
- Leftovers keep in the refrigerator for up to five days, if they last that long
 Pin it
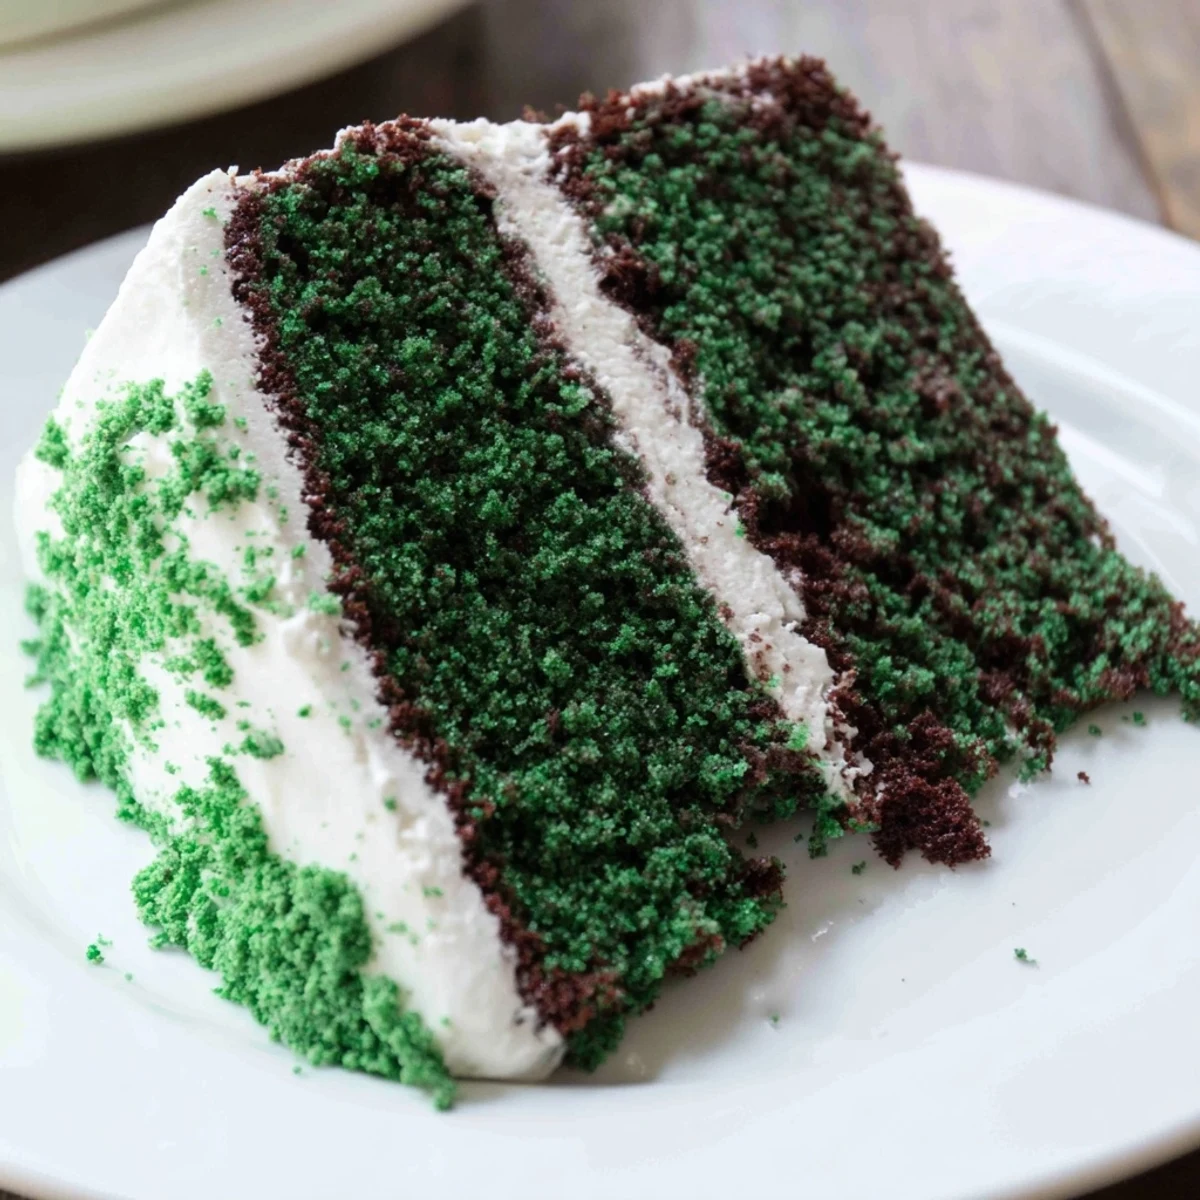
 Hope this green beauty brings as much joy to your table as it has to mine. There's something magical about cutting into that vibrant emerald layer and watching everyone's faces light up.
Recipe FAQs
- → What makes green velvet different from chocolate cake?
-
While both contain cocoa, velvet cakes use significantly less chocolate, creating a subtle backdrop rather than dominant flavor. The buttermilk and oil combination produces that signature fine, tender crumb, while the vinegar reacts with baking soda for extra lift. The green version simply swaps traditional red food coloring for vibrant emerald gel.
- → Can I use liquid food coloring instead of gel?
-
Gel coloring works best because it delivers intense color without adding excess liquid that could affect the batter's consistency. Liquid coloring requires much more volume to achieve the same emerald shade, potentially throwing off the careful moisture balance. If you only have liquid, start with one teaspoon and gradually add more until reaching your desired hue.
- → Why must ingredients be at room temperature?
-
Room temperature eggs and dairy emulsify properly, creating a uniform batter that traps air bubbles for even rising. Cold ingredients cause the oil to seize and clump, leading to dense spots or uneven texture. Simply set your eggs and buttermilk out about 30 minutes before starting for the best results.
- → How do I know when the layers are done baking?
-
Start checking at 28 minutes by inserting a toothpick into the center—it should come out clean or with just a few moist crumbs. The edges will begin pulling slightly away from the pan, and the tops will spring back when gently touched. Overbaking creates dry layers, so set your timer for the minimum suggested time.
- → Can I make this in advance?
-
The unfrosted layers wrap well and stay fresh for two days at room temperature or one week frozen. Thaw frozen layers completely before frosting. Once assembled, the frosted cake keeps refrigerated for up to four days—bring to room temperature 30 minutes before serving for optimal texture and flavor.
- → What's the best way to substitute buttermilk?
-
Combine one cup of regular milk with one tablespoon white vinegar or lemon juice, then let it sit for five minutes until slightly thickened. This homemade version provides the same acidity needed to tenderize the crumb and activate the baking soda, ensuring your layers rise properly and maintain that classic velvet texture.