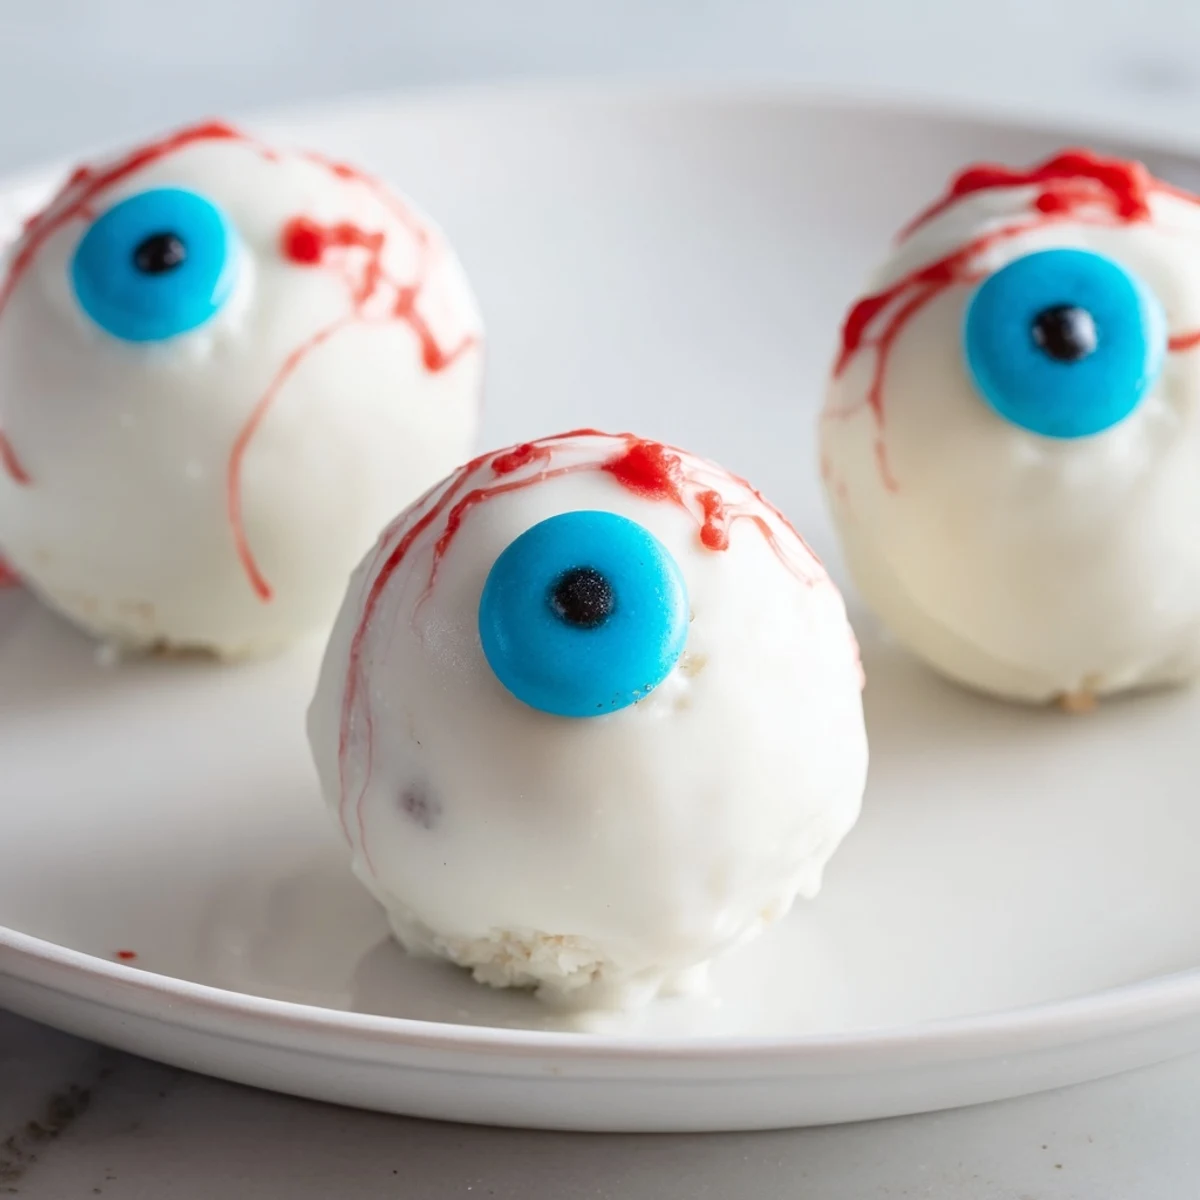
 Pin it
 These Halloween cake eyeballs combine crumbled vanilla cake with cream cheese frosting, coated in white chocolate and decorated with colored irises and spooky red veins. Perfect for parties.
The first year I made these, my neighbor's six-year-old took one look at the platter and refused to come anywhere near the table. Her older brother, though? He grabbed three and declared them the best thing he'd ever eaten, complete with exaggerated chewing sounds and fake horror movie screams that had all the kids cracking up.
Last October, I set up a decorating station at my sister's party and let the kids create their own bloodshot eyeballs. Some made perfectly realistic veins with red gel, while others went abstract with splattered gore. Every single one of them took a photo of their creation before devouring it whole.
Ingredients
- Vanilla cake mix (400 g homemade cake works too): The flavor base matters — use a high-quality mix or your favorite scratch recipe, since boxed cake can taste bland
- 3 large eggs: Room temperature eggs incorporate more evenly into the batter for consistent texture
- 120 ml vegetable oil: Oil keeps the cake moist longer than butter, which is crucial for cake pops that need to hold together
- 240 ml water: Use whatever liquid your cake mix calls for — milk adds richness if you want to substitute
- 100 g cream cheese, softened: Let it come to room temperature naturally for the smoothest frosting texture
- 100 g unsalted butter, softened: Same temperature rule applies — cold butter creates lumpy frosting that ruins the pop mixture
- 200 g powdered sugar: Sift it first to avoid stubborn lumps in your finished filling
- 1 tsp vanilla extract: Pure vanilla makes a noticeable difference in the final flavor
- 400 g white chocolate or candy melts: Candy melts coat smoother and set harder than real white chocolate
- 50 g dark chocolate or black candy melts: Use these for the pupils — they melt more predictably than chocolate chips
- 50 g blue or green candy melts OR colored icing: Pick your preferred iris color — green looks especially creepy against the white
- Red gel food coloring or decorating gel: Gel works better than liquid for drawing veins that stay put
Instructions
- Bake your cake base:
- Preheat oven to 180°C (350°F) and bake the vanilla cake according to package or recipe instructions, then let it cool completely — warm cake turns into mush instead of workable crumbs
- Create the cake crumble:
- Break the cooled cake into a large bowl and use your hands to crumble it until fine, uniform crumbs form — no chunks larger than a pea
- Prepare the frosting:
- In a separate bowl, beat the softened cream cheese, butter, powdered sugar, and vanilla extract together until completely smooth and creamy
- Form the pop mixture:
- Mix the frosting into the cake crumbs gradually until combined — the mixture should hold together when pressed but not feel wet or sticky
- Shape the eyeballs:
- Scoop tablespoons of the mixture and roll them into 24 even balls, then place them on a parchment-lined tray and freeze for 20 minutes so they firm up
- Coat with white:
- Melt the white chocolate gently in the microwave in 30-second intervals, then dip each cake ball until fully coated and return it to the tray
- Add the iris:
- While the white coating is still soft, pipe or dip a small circle of blue or green candy melt onto the center of each ball
- Create the pupil:
- Once the iris sets, add a small dot of dark chocolate or black candy melt right in the center — a toothpick works perfectly for this
- Draw the veins:
- Use red gel food coloring or decorating gel to draw squiggly lines radiating from the center for that bloodshot eyeball effect
- Set and serve:
- Let all decorations set completely before serving, at least 30 minutes in the refrigerator for the best texture
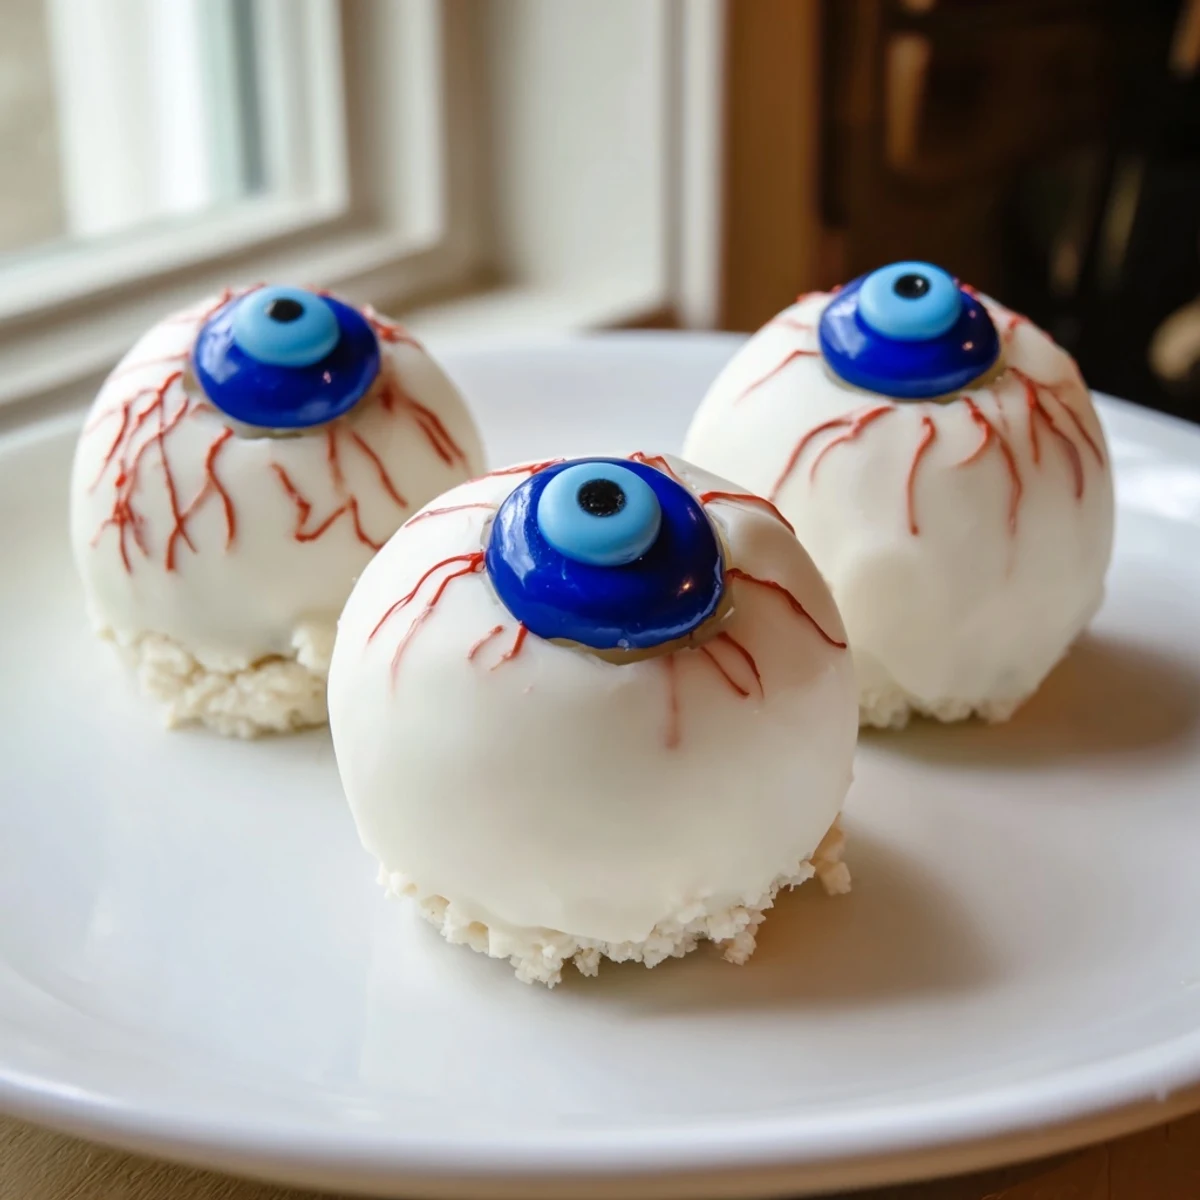 Pin it
 My friend brought these to her office Halloween potluck and said her normally buttoned-up boss actually pretended to gag dramatically before eating two. Sometimes food is more about the reaction than the recipe itself.
Making Them Ahead
You can form and chill the uncoated cake balls up to two days in advance, wrapped tightly in the refrigerator. The dipping and decorating should happen within 24 hours of serving for the freshest appearance and texture.
Coating Troubleshooting
If your white chocolate coating seems too thick, add a teaspoon of vegetable oil to thin it out — never water, which will cause the chocolate to seize into a stiff, unusable lump. Thick coating leaves clunky drips on your finished eyeballs.
Serving Suggestions
Arrange the eyeballs on a dark platter or black serving tray for maximum creepy contrast. They also nestle perfectly into a bed of crushed chocolate cookies for that edible dirt effect.
- Stick them into a halved pumpkin for vertical serving
- Pair with plastic spider rings scattered around the platter
- Serve with warm mulled cider for the full Halloween experience
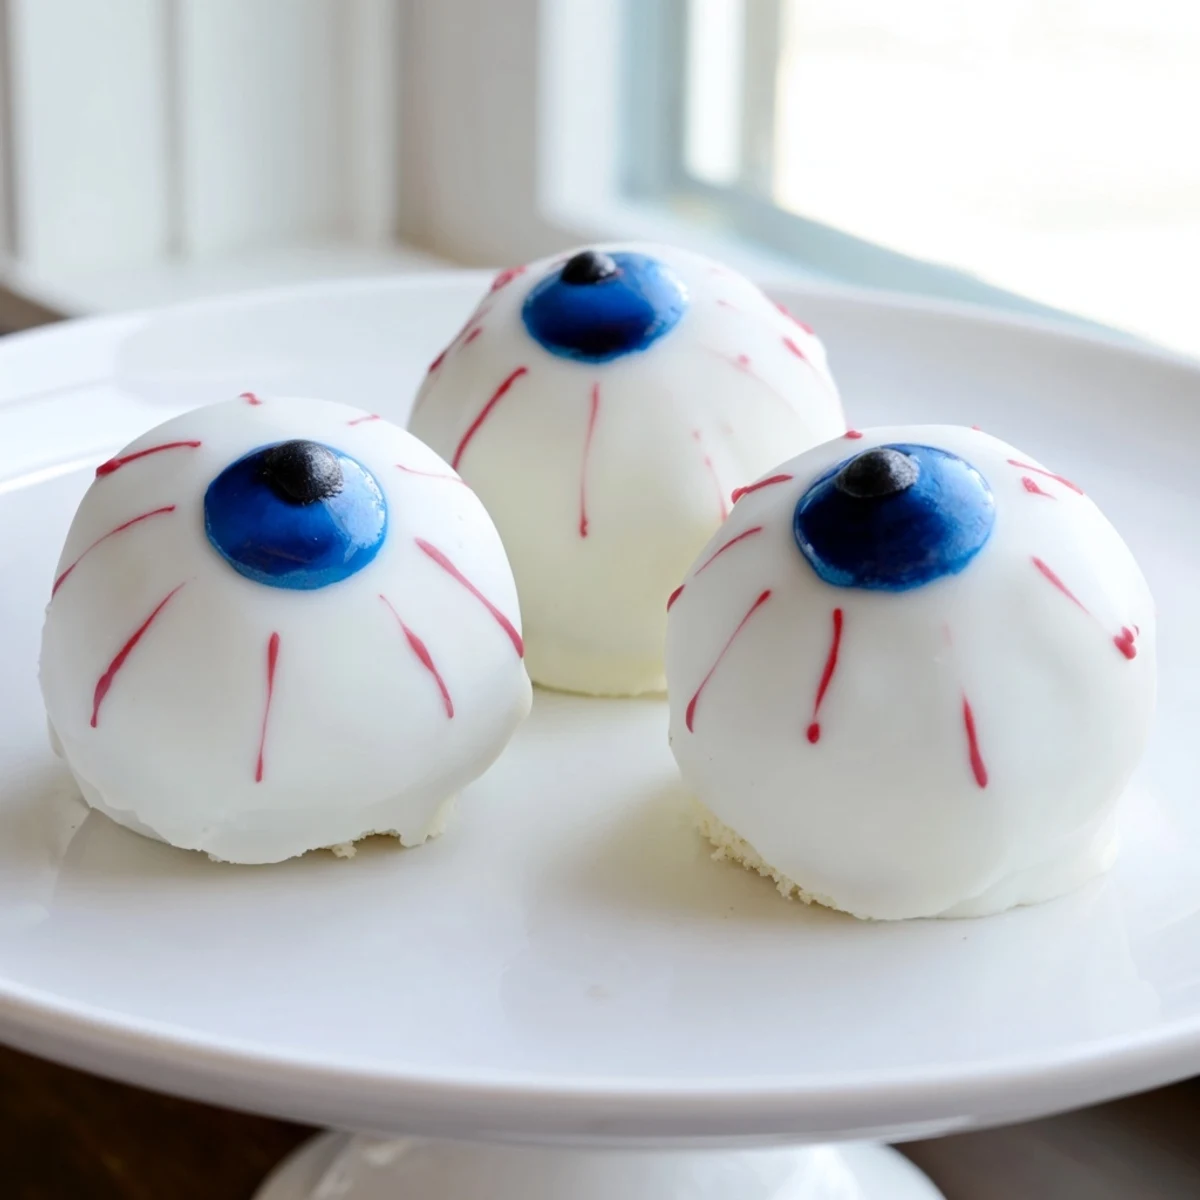 Pin it
 These spooky treats disappear faster than ghosts at sunrise, so consider making a double batch if you're feeding a crowd.
Recipe FAQs
- → How long do Halloween cake eyeballs stay fresh?
-
Store in an airtight container in the refrigerator for up to 5 days. The coating stays firm and the filling remains creamy when chilled.
- → Can I make these ahead of time?
-
Yes, prepare the cake balls up to 2 days ahead. Decorate with the chocolate coating and veins 24 hours before serving for best results.
- → What if I don't have candy melts?
-
White chocolate chips work well for the base coating. Use regular chocolate or colored frosting for the iris details instead of colored candy melts.
- → How do I prevent the coating from cracking?
-
Ensure the cake balls are thoroughly chilled before dipping. Work quickly and let the excess coating drip off before placing on parchment paper.
- → Can kids help make these Halloween treats?
-
Absolutely! Kids can help crumble the cake, roll the balls, and especially enjoy decorating the spooky veins and pupils on each eyeball.
- → What other flavors work well?
-
Chocolate cake, red velvet, or funfetti cake mix all work beautifully. Match the filling flavor to complement your chosen cake base.